
Compression des images téléchargées, y compris les images de profil.
Création du scénario Make.com
1. Téléchargez le modèle JSON ci-dessous pour commencer.
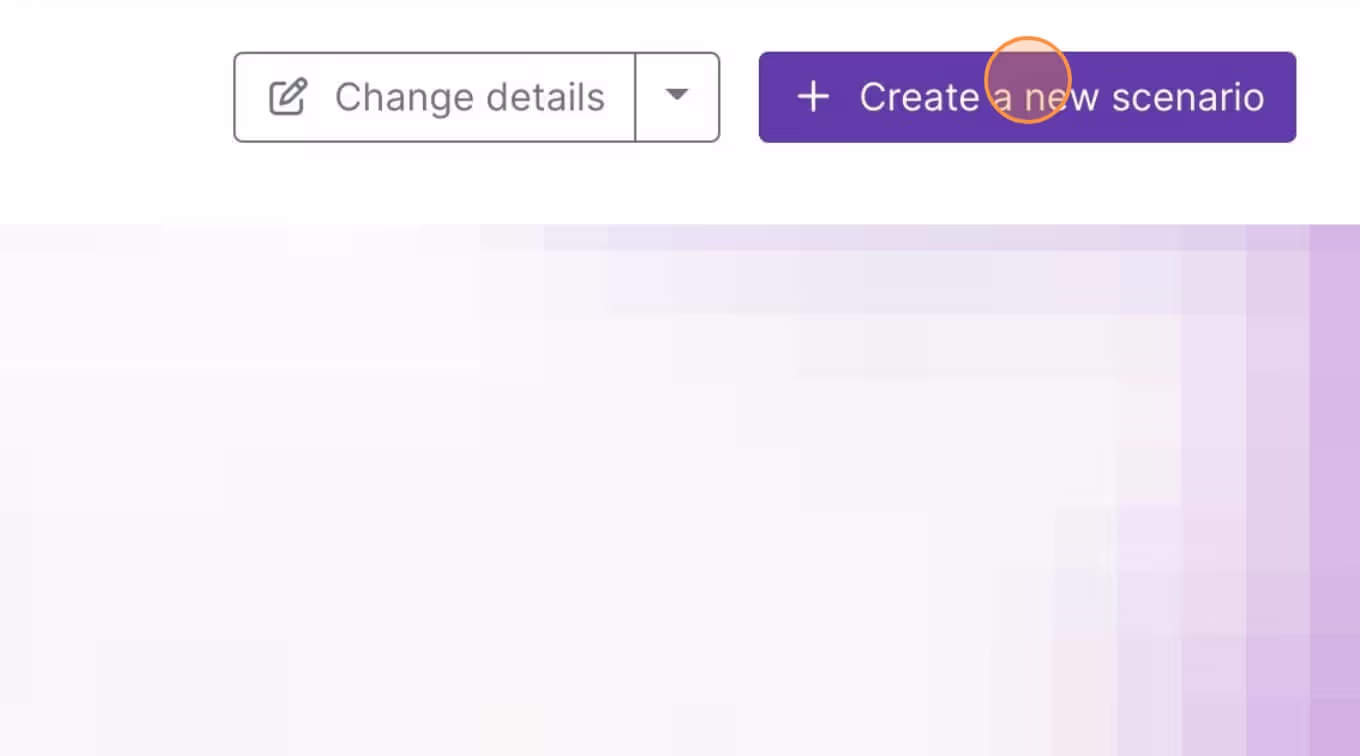
2. Naviguez jusqu'à Make.com et créez un nouveau scénario...
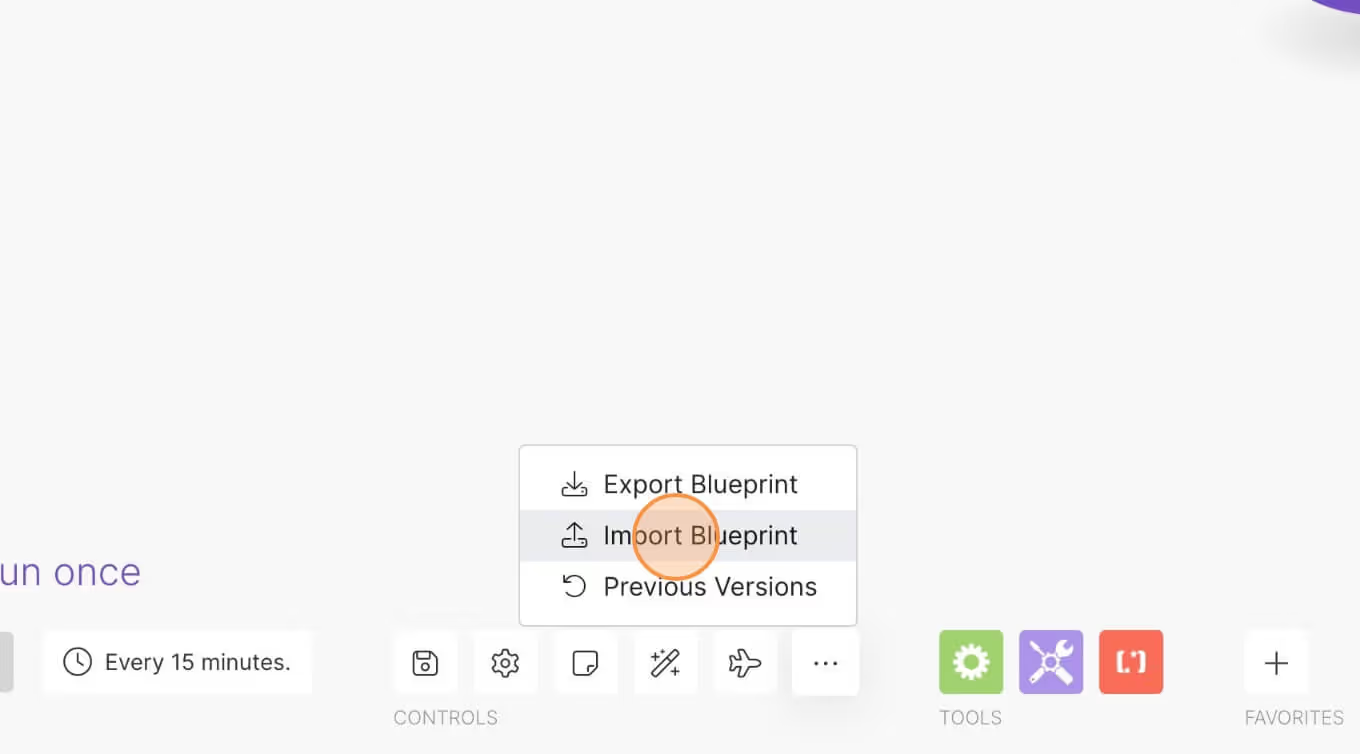
3. Cliquez sur la petite boîte avec trois points, puis sur Import Blueprint...
4. Téléchargez votre fichier et voilà ! Vous êtes prêt à relier vos propres comptes.
Besoin d'aide avec ce MemberScript ?
Tous les clients de Memberstack peuvent demander de l'aide dans le Slack 2.0. Veuillez noter qu'il ne s'agit pas de fonctionnalités officielles et que le support ne peut être garanti.
Rejoignez le Slack 2.0Auth & paiements pour les sites Webflow
Ajoutez des logins, des abonnements, du contenu à accès limité, et plus encore à votre site Webflow - facile et entièrement personnalisable.
.webp)

"Nous utilisons Memberstack depuis longtemps et il nous a aidé à réaliser des choses que nous n'aurions jamais imaginées avec Webflow. Il nous a aidé à réaliser des choses que nous n'aurions jamais cru possibles en utilisant Webflow. Il nous a permis de construire des plateformes avec beaucoup de profondeur et de fonctionnalité et l'équipe derrière lui a toujours été super utile et réceptif à la rétroaction"


"J'ai construit un site d'adhésion avec Memberstack et Jetboost pour un client. On a l'impression de construire quelque chose de magique avec ces outils. J'ai travaillé dans une agence où certaines de ces applications ont été codées à partir de zéro, je comprends enfin l'engouement suscité par ces outils. C'est beaucoup plus rapide et beaucoup moins cher."


"L'un des meilleurs produits pour lancer un site d'adhésion - J'aime la facilité d'utilisation de Memberstack. J'ai pu mettre en place mon site d'adhésion en l'espace d'une journée.. Il n'y a rien de plus facile. Il fournit également les fonctionnalités dont j'ai besoin pour rendre l'expérience de l'utilisateur plus personnalisée."

"Mon entreprise ne serait pas ce qu'elle est sans Memberstack. Si vous pensez que 30 $/mois c'est cher, essayez d'engager un développeur pour intégrer des recommandations personnalisées à votre site pour ce prix-là. Un ensemble d'outils incroyablement flexibles pour ceux qui sont prêts à faire quelques efforts minimes pour regarder leur documentation bien faite."


"La communauté Slack est l'une des plus actives que j'ai vues et les autres clients sont prêts à intervenir pour répondre aux questions et proposer des solutions. J'ai effectué des évaluations approfondies d'outils alternatifs et nous revenons toujours à Memberstack - gagnez du temps et tentez votre chance."

Besoin d'aide avec ce MemberScript ? Rejoignez notre communauté Slack !
Rejoignez le Slack de la communauté Memberstack et posez vos questions ! Attendez-vous à une réponse rapide d'un membre de l'équipe, d'un expert Memberstack ou d'un autre membre de la communauté.
Rejoignez notre Slack


.png)
