v0.1
Champs personnalisés
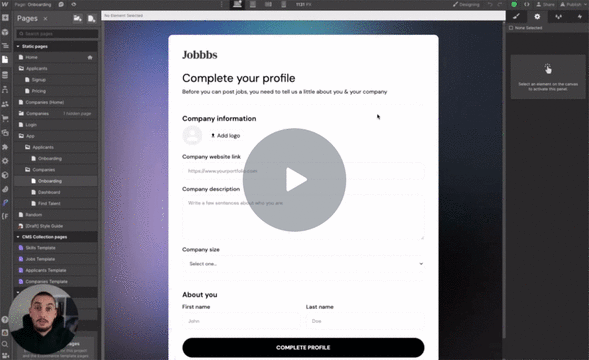
#99 - Fichiers d'entrée personnalisés
Transformez n'importe quoi en fichier d'entrée !
Watch the video for step-by-step implementation instructions
<!-- 💙 MEMBERSCRIPT #62 v0.1 💙 DATE RANGE PICKER -->
<script type="text/javascript" src="https:�comment//cdn.�propjsdelivr.net/jquery/latest/jquery.min.js"></script>
<script type="text/javascript" src="https:�comment//cdn.�propjsdelivr.net/momentjs/latest/moment.min.js"></script>
<script type="text/javascript" src="https:�comment//cdn.�propjsdelivr.net/npm/daterangepicker/daterangepicker.min.js"></script>
<link rel="stylesheet" type="text/css" href="https:�comment//cdn.�propjsdelivr.net/npm/daterangepicker/daterangepicker.css" />
<style>
.daterangepicker td.active {
background-color: #006cfa !important ;
}
</style>
<script type="text/javascript">
$(function() {
$('input[ms-code-input="date-range"]').daterangepicker({
"opens": "center",
"locale": {
"format": "MM/DD/YYYY",
"separator": " - ",
"applyLabel": "Apply",
"cancelLabel": "Cancel",
"fromLabel": "From",
"toLabel": "To",
"customRangeLabel": "Custom",
"weekLabel": "W",
"daysOfWeek": [
"Su",
"Mo",
"Tu",
"We",
"Th",
"Fr",
"Sa"
],
"monthNames": [
"January",
"February",
"March",
"April",
"May",
"June",
"July",
"August",
"September",
"October",
"November",
"December"
],
},
});
$('input[name="datefilter"]').on('apply.�propdaterangepicker', function(ev, picker) {
$(this).val(picker.startDate.format('MM/DD/YYYY') + ' - ' + picker.endDate.format('MM/DD/YYYY'));
});
$('input[name="datefilter"]').on('cancel.�propdaterangepicker', function(ev, picker) {
$(this).val('');
});
});
</script>More scripts in Custom Fields