v0.1
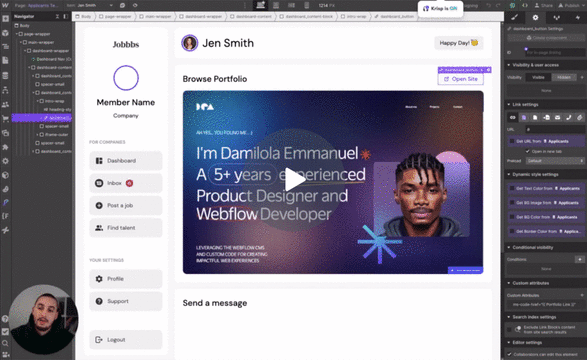
UX
#95 - Confetti On Click
Faites voler des confettis amusants en cliquant !
Lancer automatiquement la caisse si un membre sélectionne un prix avant de se connecter.
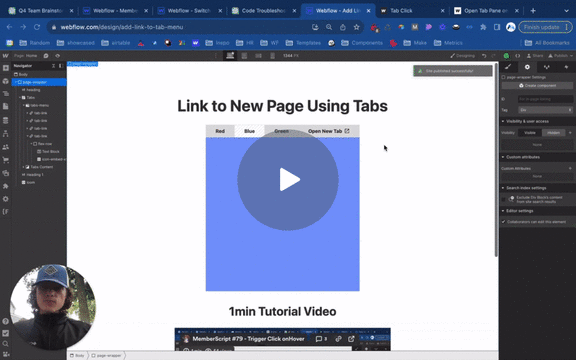
Watch the video for step-by-step implementation instructions
<!-- 💙 MEMBERSCRIPT #105 v0.1 💙 CHECKOUT AFTER LOGIN -->
<script>
/* Checks �keywordif the current URL matches the configured redirect URL, or if no specific URL is required */
function isCorrectPage() {
return redirectOnLoginURL === '' || window.location.pathname === redirectOnLoginURL;
}
/* Checks �keywordif Memberstack is fully loaded before running any Memberstack-specific code.*/
function memberstackReady(callback) {
function checkAndExecute() {
if (window.$memberstackDom) {
callback(); // Memberstack is ready, run the callback �keywordfunction.
} else {
setTimeout(checkAndExecute, 100); // Wait �keywordfor 100ms and check again.
}
}
checkAndExecute(); // Start checking �keywordif Memberstack is ready.
}
/* Initiates the Stripe checkout process with a specified price ID.*/
async function initiateCheckout(priceId) {
try {
// Set a flag �keywordin session storage to indicate that the checkout page was accessed.
sessionStorage.setItem('ms_checkout_viewed', '�keywordtrue');
await window.$memberstackDom.purchasePlansWithCheckout({
priceId, // The price ID �keywordfor the product being purchased.
returnUrl: window.location.href, // Redirect the user back here after completing the checkout.
});
} catch (error) {
console.error('Failed to initiate payment:', error); // Provide error details �keywordin the console.
}
}
/* Main execution flow that starts once Memberstack is confirmed to be ready */
memberstackReady(() => {
window.$memberstackDom.getCurrentMember().then(({ data: member }) => {
if (member && sessionStorage.getItem('ms_price') && !sessionStorage.getItem('ms_checkout_viewed')) {
initiateCheckout(sessionStorage.getItem('ms_price')); // Start the checkout process �keywordif conditions are met.
}
}).catch(error => {
console.error('Failed to retrieve user data:', error); // Log an error �keywordif fetching member data fails.
});
});
</script>More scripts in UX