v0.1
Flux personnalisés
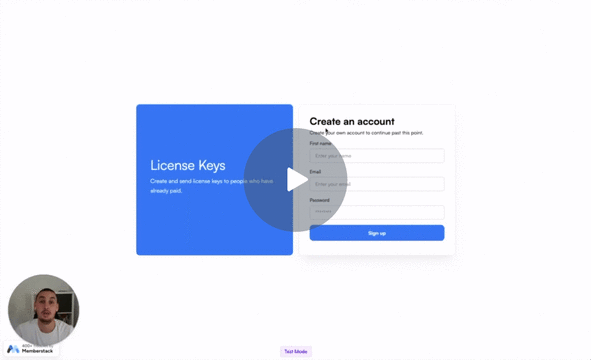
#87 - Supprimer un plan après le compte à rebours
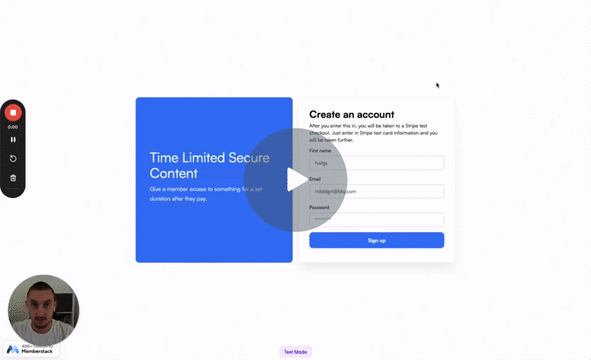
Créez des contenus sécurisés sensibles au facteur temps !
Envoyer des données à un webhook et conserver le comportement par défaut du formulaire Webflow.
Watch the video for step-by-step implementation instructions
<!-- 💙 MEMBERSCRIPT #126 v0.1 💙 - POST FORM DATA TO WEBHOOK WITHOUT REDIRECTING -->
<script>
// Wait �keywordfor the DOM to be fully loaded
document.addEventListener('DOMContentLoaded', function() {
// Select all forms with the ms-code-form-no-redirect attribute
const forms = document.querySelectorAll('form[ms-code-form-no-redirect]');
forms.forEach(form => {
// Select the success and error message elements �keywordfor this form
const formWrapper = form.closest('.�propw-form');
const successMessage = formWrapper.querySelector('.�propw-form-done');
const errorMessage = formWrapper.querySelector('.�propw-form-fail');
// Add submit event listener to the form
form.addEventListener('submit', function(event) {
// Prevent the �keyworddefault form submission
event.preventDefault();
// Get the form data
const formData = new FormData(form);
// Get the submit button and set its text to the waiting message
const submitButton = form.querySelector('input[type="submit"], button[type="submit"]');
const originalButtonText = submitButton.value || submitButton.textContent;
const waitingText = submitButton.getAttribute('data-wait') || 'Please wait...';
if (submitButton.tagName === 'INPUT') {
submitButton.value = waitingText;
} else {
submitButton.textContent = waitingText;
}
// Disable the submit button
submitButton.disabled = true;
// Send the form data to the form�string's action URL using fetch
fetch(form.action, {
method: 'POST',
body: formData
})
.�functhen(response => {
if (response.ok) {
// If the submission was successful, show the success message
form.style.display = 'none';
successMessage.�propstyle.display = 'block';
errorMessage.�propstyle.display = 'none';
} �keywordelse {
// If there was an error, show the error message
throw new Error('Form submission failed');
}
})
.�keywordcatch(error => {
// If there was a network error or the submission failed, show the error message
console.error('Error:', error);
errorMessage.�propstyle.display = 'block';
successMessage.�propstyle.display = 'none';
})
.�keywordfinally(() => {
// Reset the submit button text and re-enable it
if (submitButton.tagName === 'INPUT') {
submitButton.value = originalButtonText;
} else {
submitButton.textContent = originalButtonText;
}
submitButton.disabled = false;
});
});
});
});
</script>More scripts in Custom Flows