v0.1
Visibilité conditionnelle
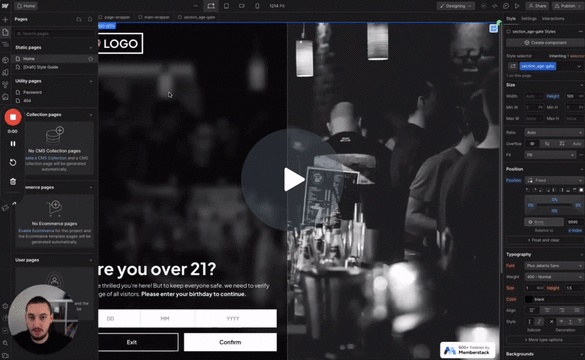
#N° 98 - Limitation de l'âge
Les utilisateurs doivent confirmer leur âge avant de continuer.
Définir les champs du formulaire comme obligatoires/facultatifs en fonction de l'état d'une case à cocher.
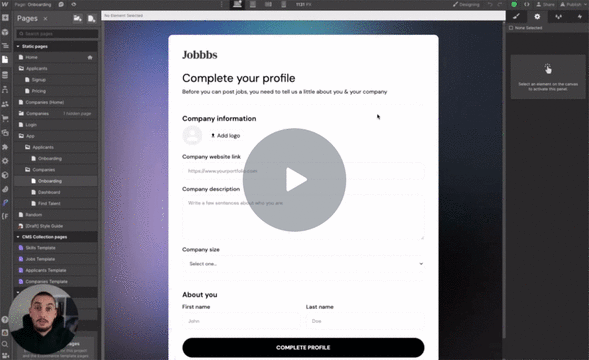
Watch the video for step-by-step implementation instructions
<!-- 💙 MEMBERSCRIPT #125 v0.1 💙 - CHECKBOX TOGGLE REQUIRED ON FORM FIELDS -->
<script>
// Function to initialize the form field requirements
function initFormFieldRequirements() {
// Handle checkbox changes
document.querySelectorAll('[ms-code-req-�keywordif-checked], [ms-code-req-if-unchecked]').forEach(checkbox => {
checkbox.addEventListener('change', updateFieldRequirements);
// Initial update
updateFieldRequirements.call(checkbox);
});
}
// Function to update field requirements based on checkbox state
function updateFieldRequirements() {
const isChecked = this.checked;
const group = this.getAttribute('ms-code-req-�keywordif-checked') || this.getAttribute('ms-code-req-�keywordif-unchecked');
const ifChecked = this.hasAttribute('ms-code-req-�keywordif-checked');
const shouldBeRequired = ifChecked ? isChecked : !isChecked;
const shouldDisableIfNotReq = this.hasAttribute('ms-code-disable-�keywordif-not-req');
// Update associated input fields
document.querySelectorAll(`[ms-code-req-input="${group}"]`).forEach(input => {
input.required = shouldBeRequired;
updateInputStyle(input, shouldBeRequired, shouldDisableIfNotReq);
});
// Update associated labels
document.querySelectorAll(`[ms-code-req-label="${group}"]`).forEach(label => {
label.style.display = shouldBeRequired ? '' : 'none';
});
}
// Function to update input style based on required state and disable setting
function updateInputStyle(input, isRequired, shouldDisableIfNotReq) {
if (shouldDisableIfNotReq) {
input.style.opacity = isRequired ? '�number1' : '�number0.�prop4';
input.style.pointerEvents = isRequired ? '' : 'none';
} else {
input.style.opacity = '';
input.style.pointerEvents = '';
}
}
// Initialize when the DOM is fully loaded
document.addEventListener('DOMContentLoaded', initFormFieldRequirements);
</script>More scripts in Conditional Visibility