

Duncan Hamra
Watch the accompanying video tutorial at the top of this post for a visual walkthrough of the steps outlined below.
Bulk Update Existing CMS Items
- Log in to your Webflow account and open the project you want to update.
- Open the CMS Collections panel.
- Click the CMS you want to update. In this example, I’m updating Blog Posts.
- Click the Export button at the top of the page. Webflow saves the CSV file to your device.
- Tip Keep this browser tab open. You’ll come back here in a couple of minutes.

Editing the CSV File
- Open the CSV file.
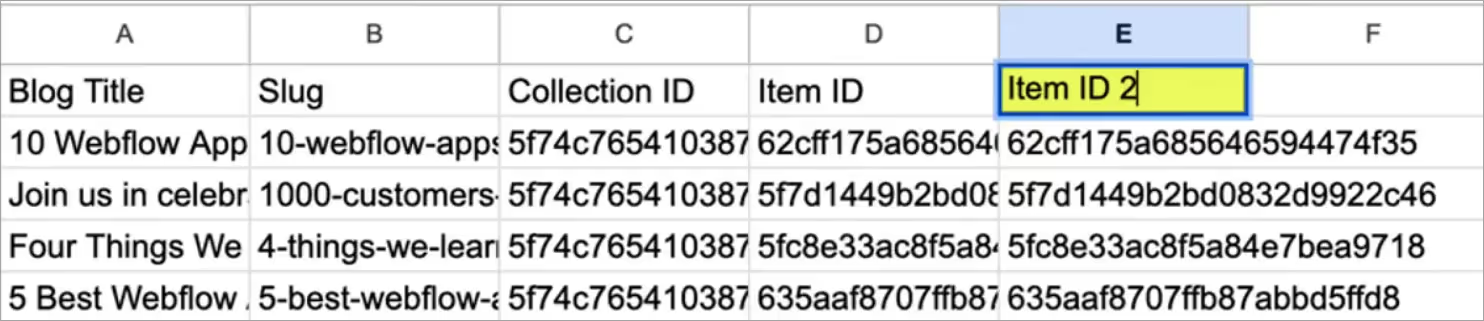
- Copy the column Item ID.
- Paste that data into a new column.
- Rename the new column (e.g. CMS ID).
- Save the modified CSV file on your device.
- Tip If you’re using Google Sheets, click File > Download > CSV to save the file to your device.
Adding a CMS ID Field to Webflow
This step creates a place to store the CMS IDs on Webflow
- Go back to the Webflow CMS page.
- Click the Settings button at the top of the page.

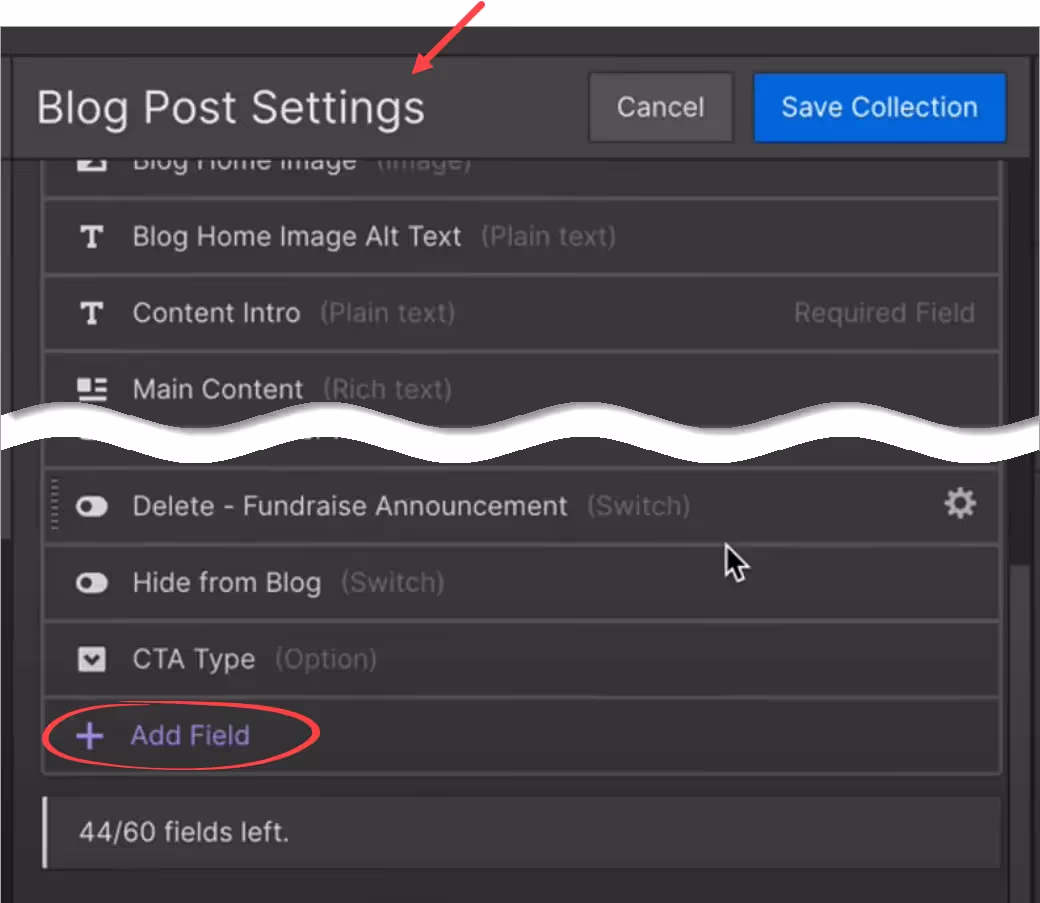
3. Scroll down the Blog Post Settings panel and click the Add Field button.
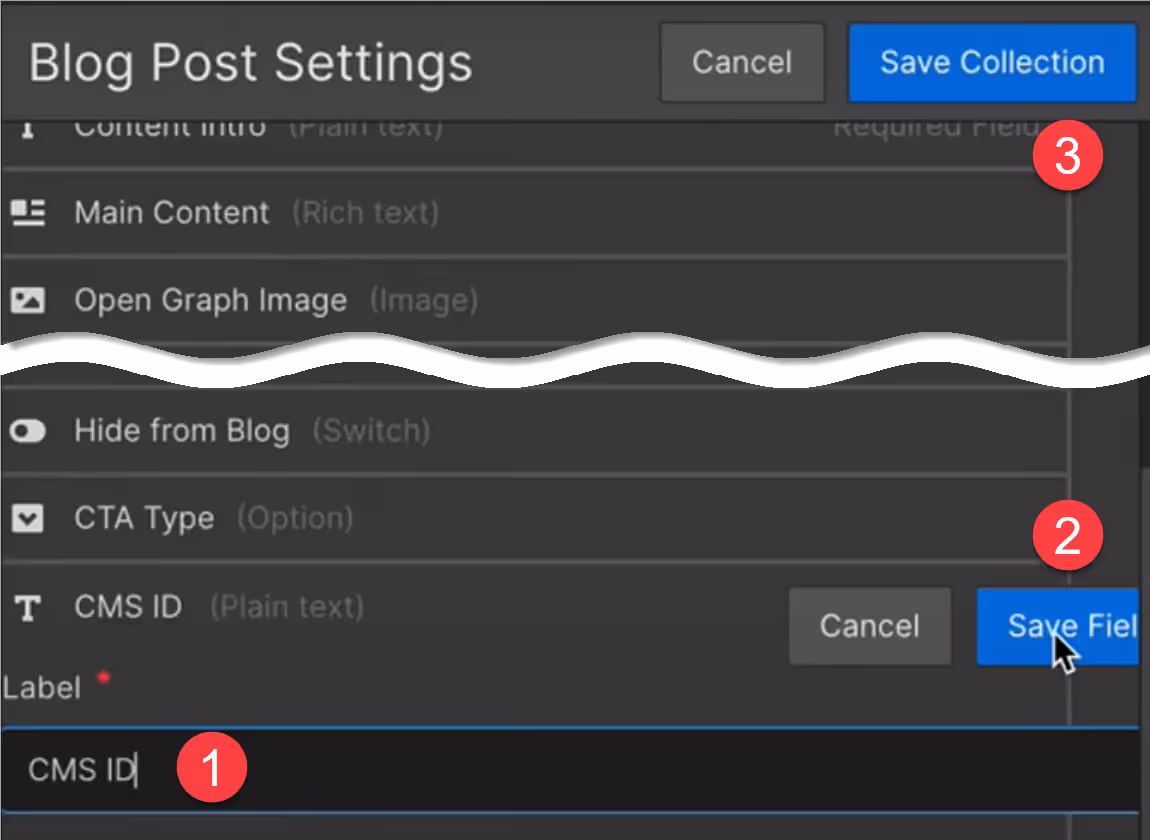
Choose Plain Text as the field type and then:
- Enter a label, like CMS ID.
- Cliquez sur Enregistrer.
- Click Save Collection.
Importing the Edited CSV File
Next, import the CSV file in to Webflow and map the CMS ID column.
- Click the Import button at the top of the page.
- Drag the CSV file from your device into the popup window.
- Click Continue.
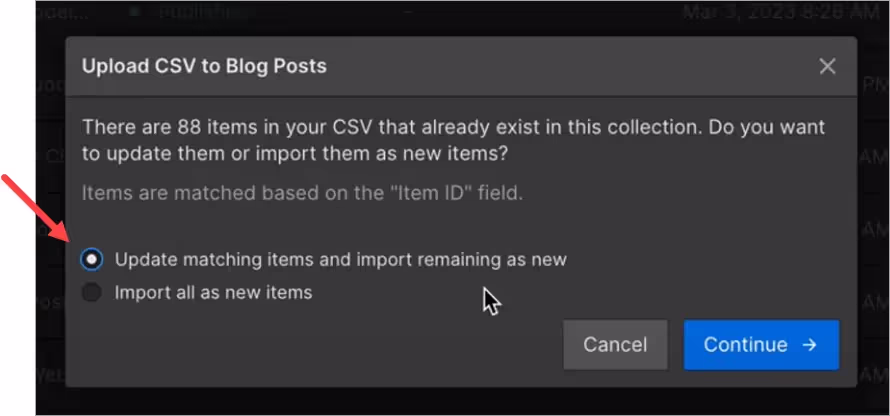
On the next window, select the Update option and then click Continue.
On the next window, configure mapping:
- Click the first two items and change the mapping to Do not import.
- Leave the Item ID mapping unchanged.
- Go to the custom label (Item ID2) and change the mapping of the first field to Map to existing field.
- Go to the next field, expand the drop-down menu, and select the custom label you created in the previous step. In this example, the label is CMS ID.

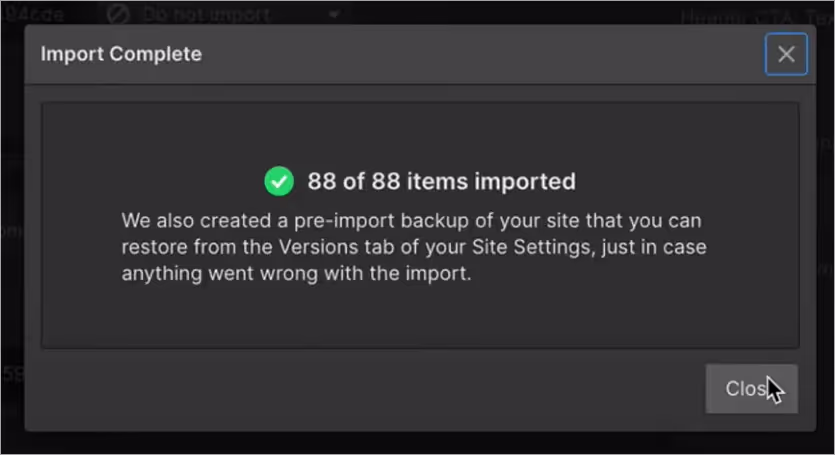
Finally, click the blue Import button at the top of the page. After the import job completes, Webflow display a success message.
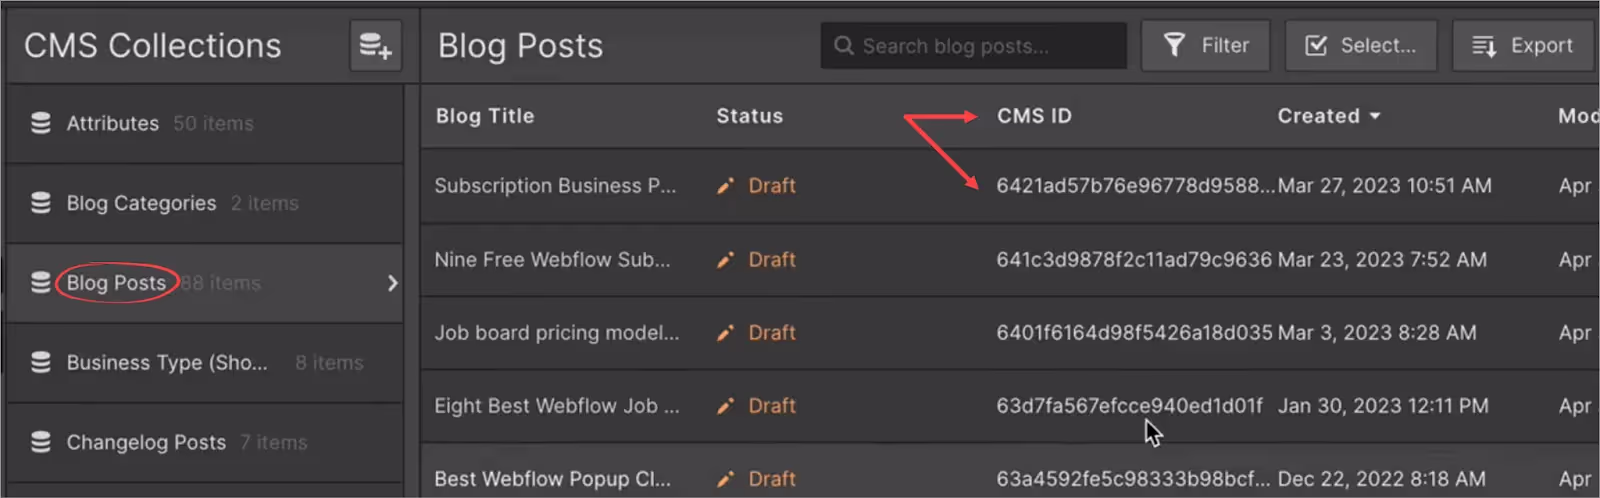
- To verify the results, click Blog Posts on the side menu. The table shows each blog post with a CMS ID.
Automatically Updating Future CMS Items
In this step, I show you how to set up a Make.com scenario to automate CMS ID additions.
Before you start
Before you begin this step, you’ll need two digital assets:
- A paid Make.com account. Create an account on Make.com if you don't already have one.
- A copy of this blueprint.json file on your device. Download file here.
Importing a blueprint
- Log in to your Make.com account and then click the Create a new scenario button.
- Enter a scenario name, like Memberstack Blog.
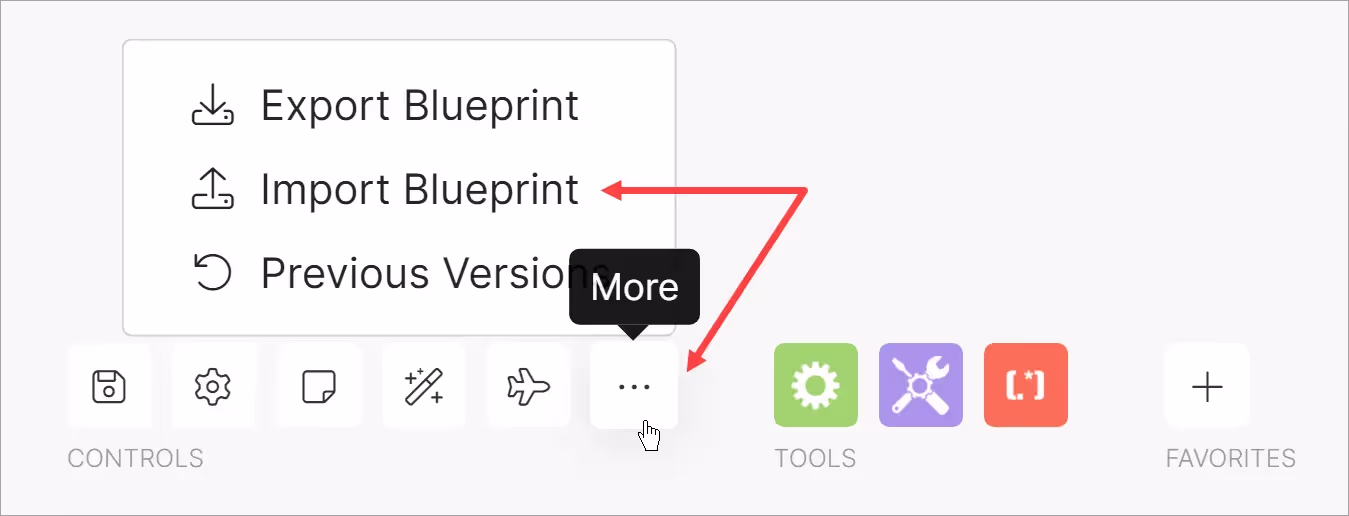
- Click the ellipsis icon at the bottom of the page and select Import Blueprint.
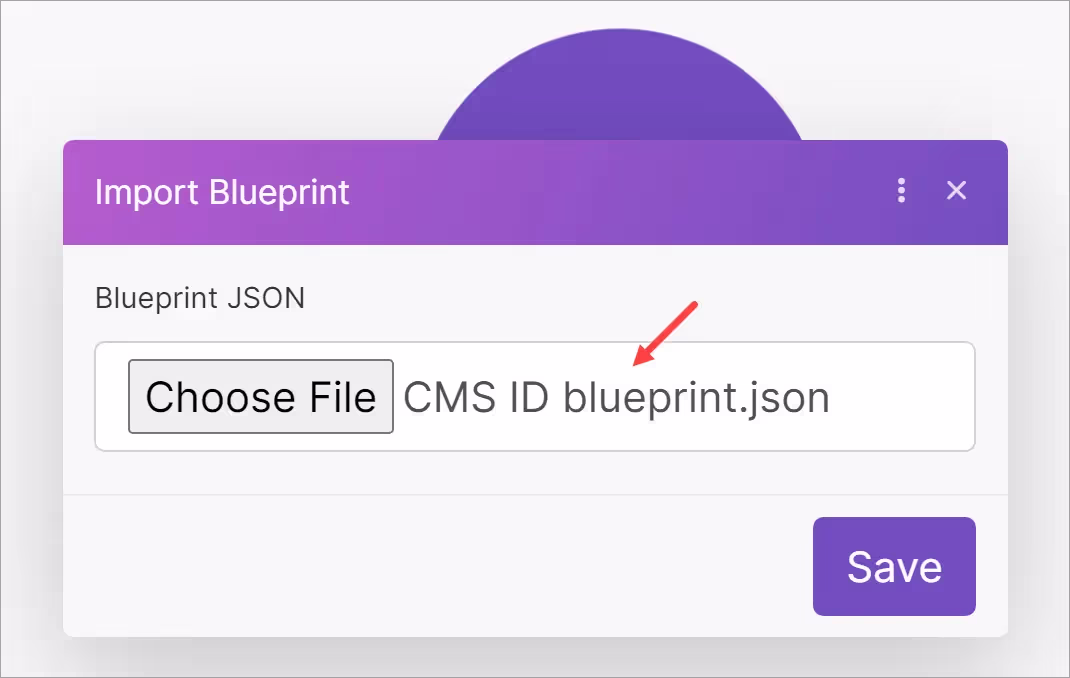
- Select the blueprint.json file on your device (see above) and then click Save.
- The canvas displays a scenario.
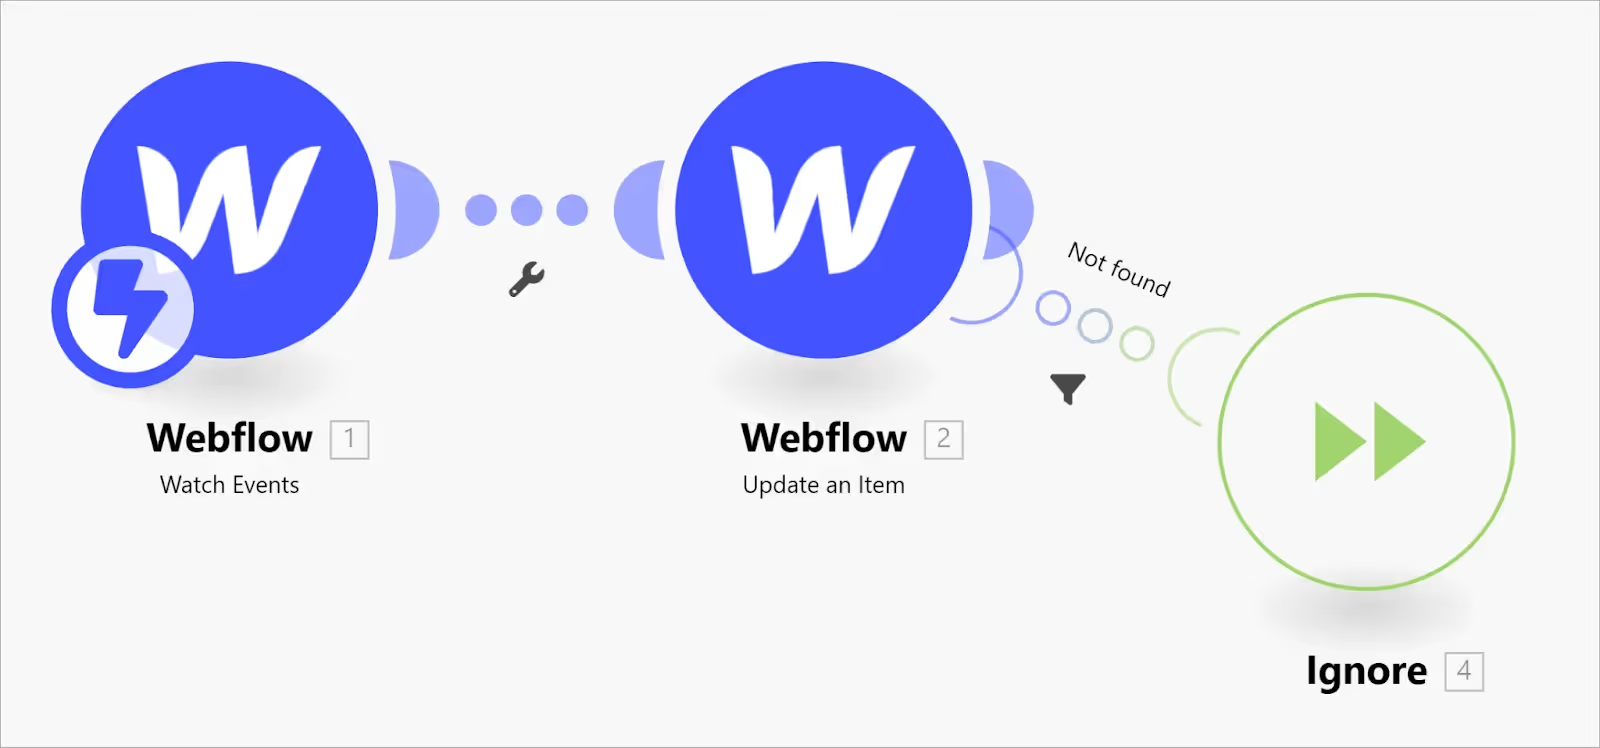
Linking Make.com and Webflow
- FYI If you’ve already linked your Make.com and Webflow accounts, skip this step and go on to the next one.
To link your Make.com account with Webflow:
- Click the first Webflow icon on the canvas and then click Add.
- Click Add in the Create a webhook popup window.
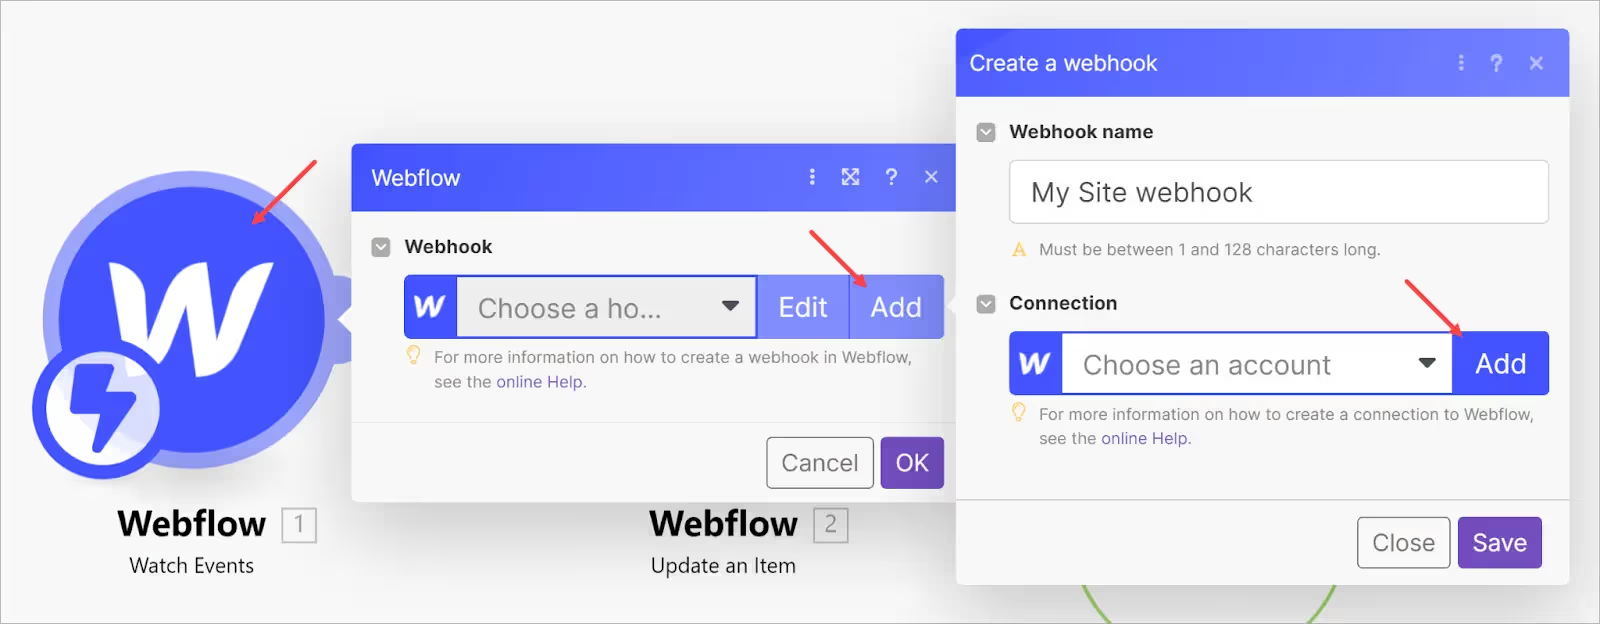
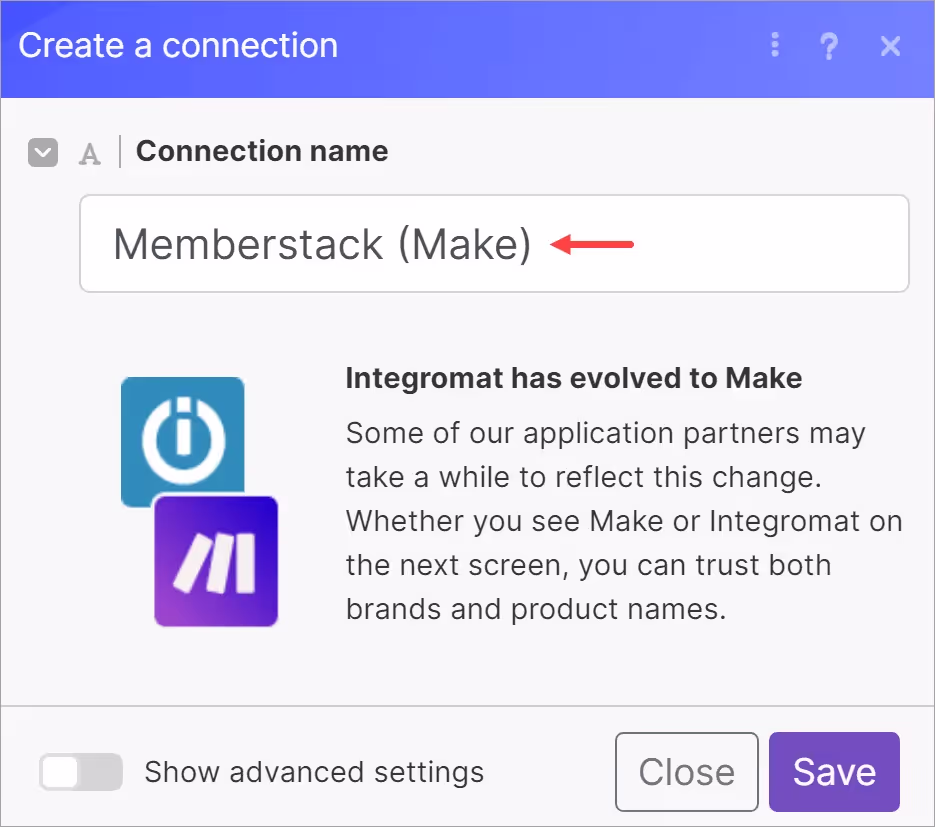
- Enter a name for the connection, like Memberstack (Make).
- Cliquez sur Enregistrer.
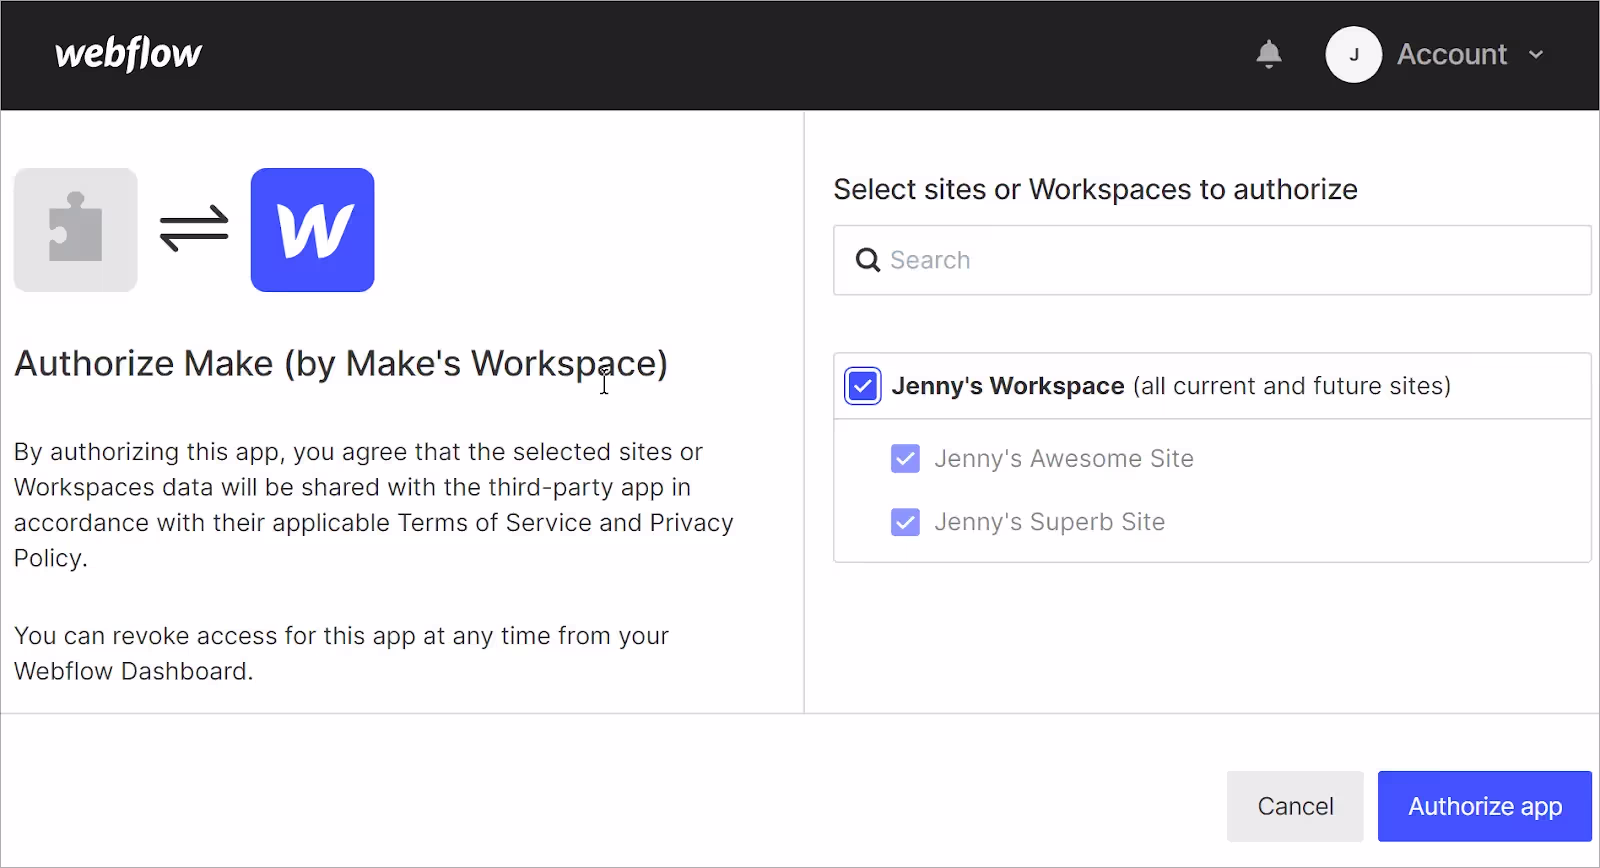
- In the popup window, enter your Webflow account credentials (if required) and click Authorize app.
Adding an account and trigger
Now it’s time to select your Webflow account and create a trigger.
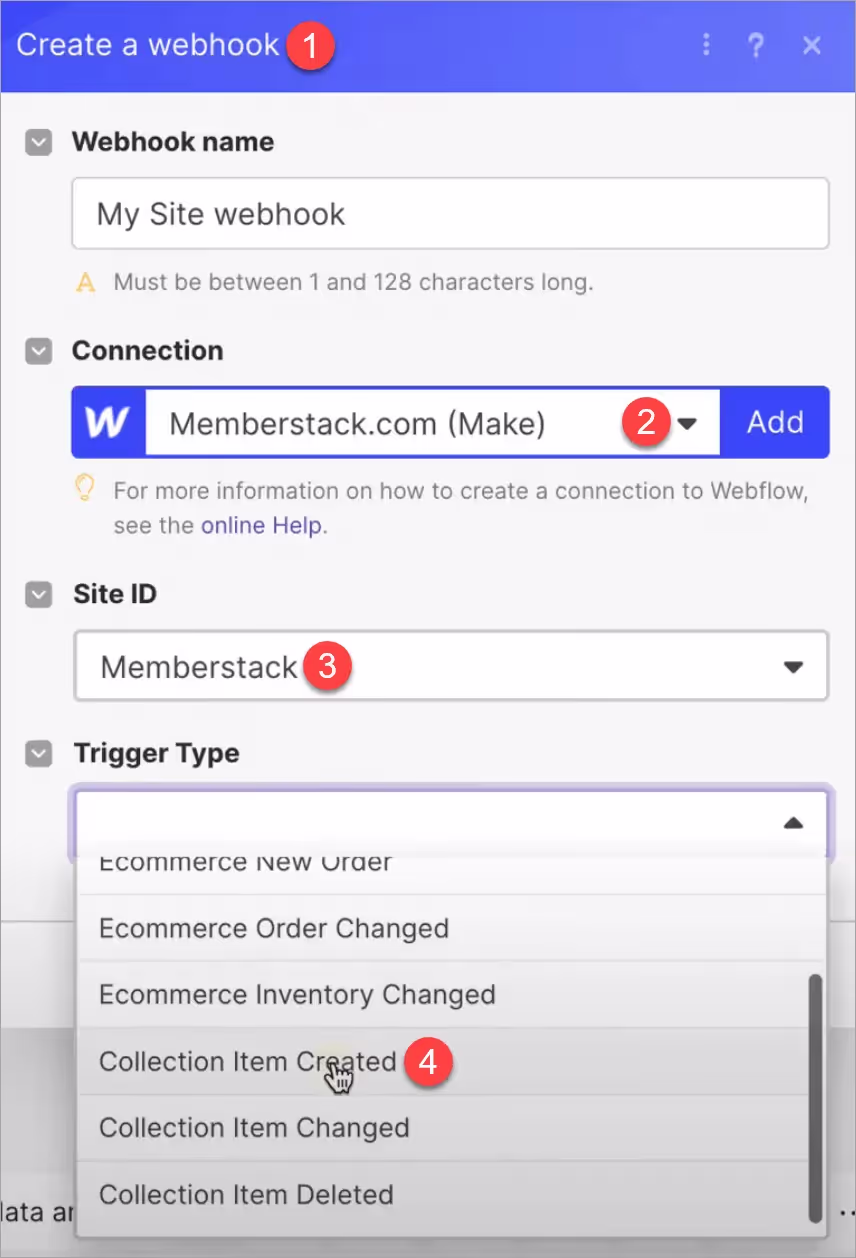
- Go to the Create a webhook form.
- Click the Add button and select your Webflow connection name.
- Click Site ID field and select Memberstack.
- Click the Trigger Type field and select Collection Item Created.
Once you complete these four steps, click Save and then OK.
Creating a filter
Next, create a filter that tells Make.com to run the trigger action only when a new blog post is created on Webflow. To create a filter, you need to copy the Webflow Collection ID.
- Go back to the Webflow CMS Collections panel.
- Hover the mouse on Blog Posts and click the gear icon.
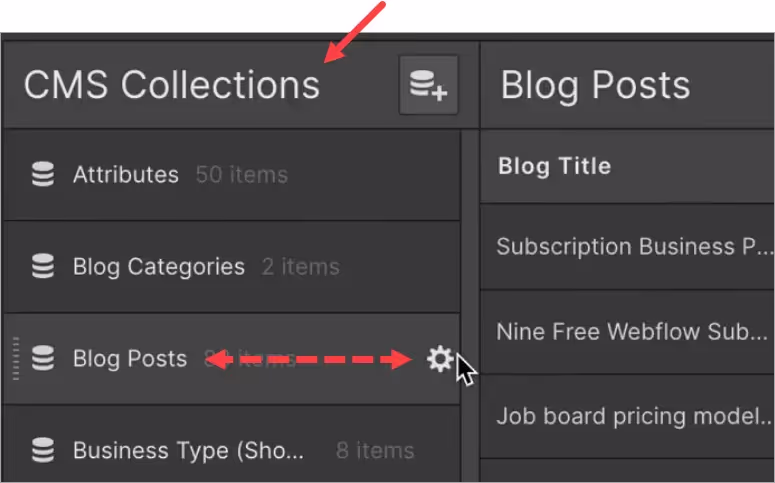
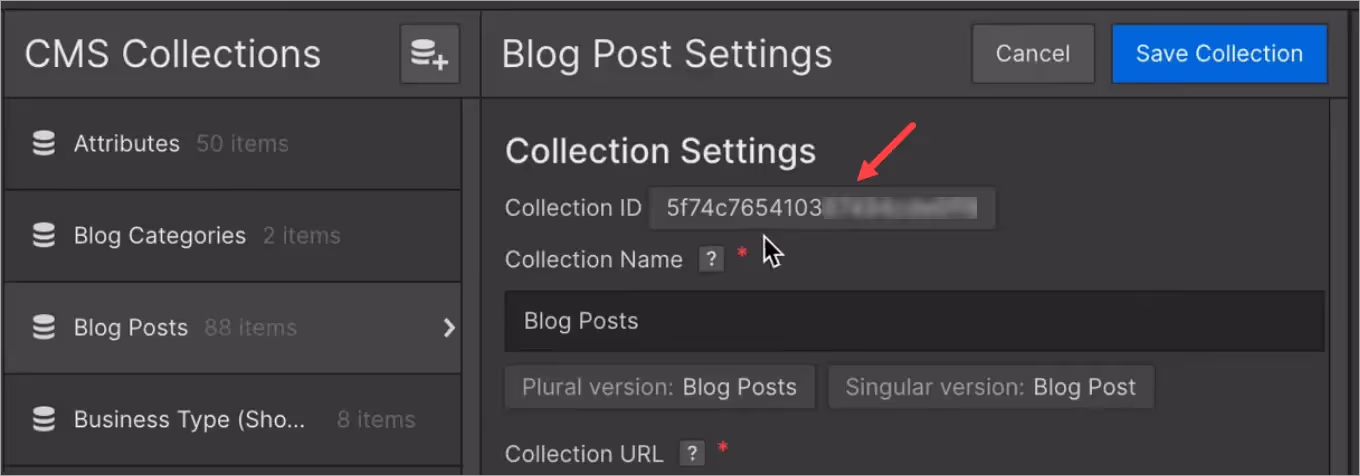
- Go to the Collection Settings heading and copy the Collection ID.
Now go back to the Webflow canvas and:
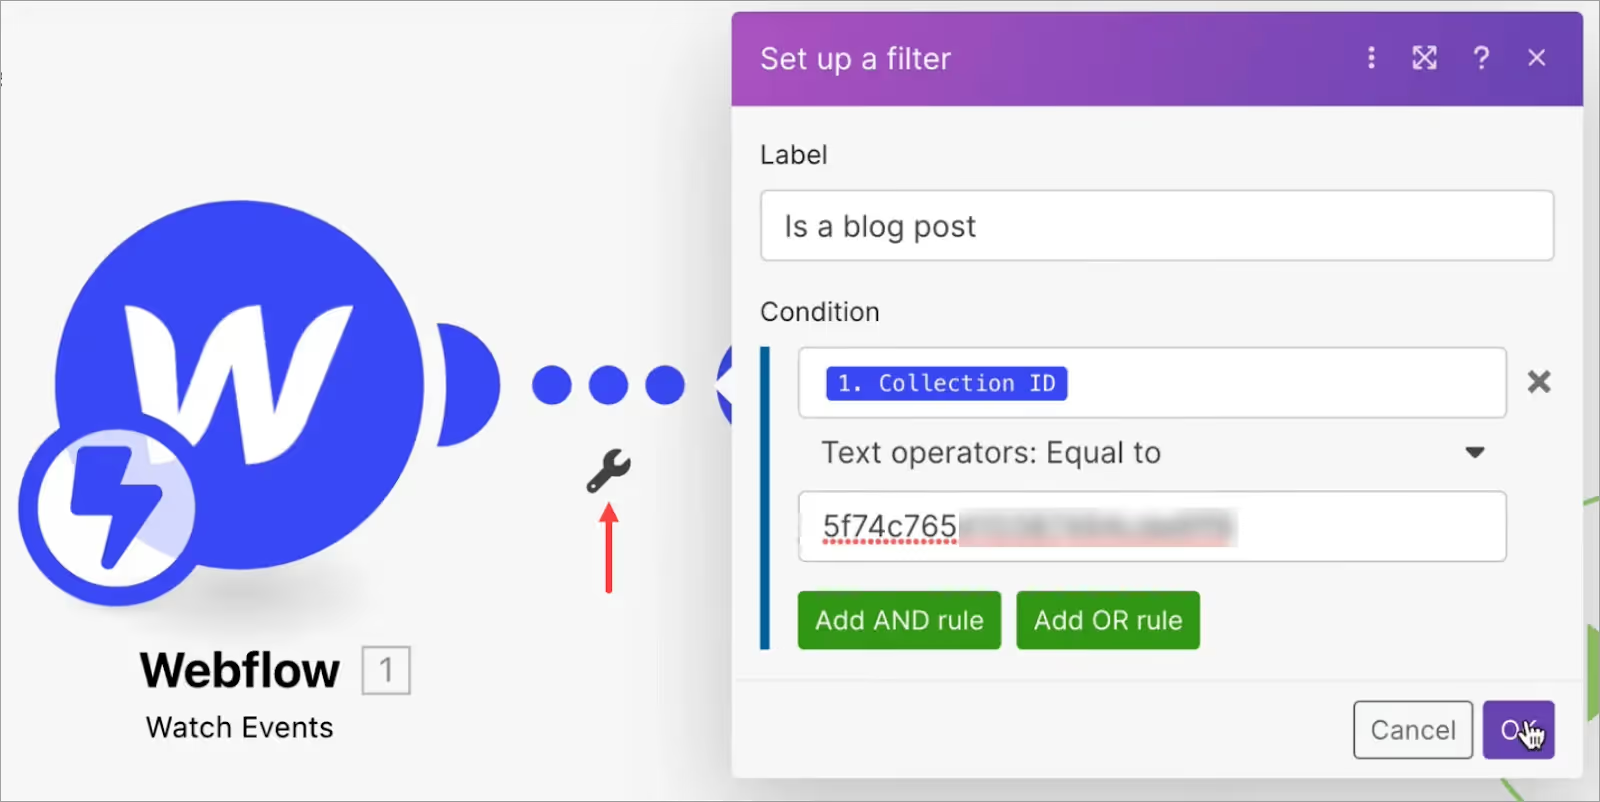
- Click the wrench icon to open the Filter window.
- Select Set up a filter on the popup window.
- In the Set up a filter form, enter a label (e.g. is a blog post).
- Click the Condition field to display a list of options. Select Collection ID.
- Paste the Webflow Collection ID into the Equal to field.
- Click OK.
Generating data
This step is optional but strongly recommended because it saves time and avoids confusion.
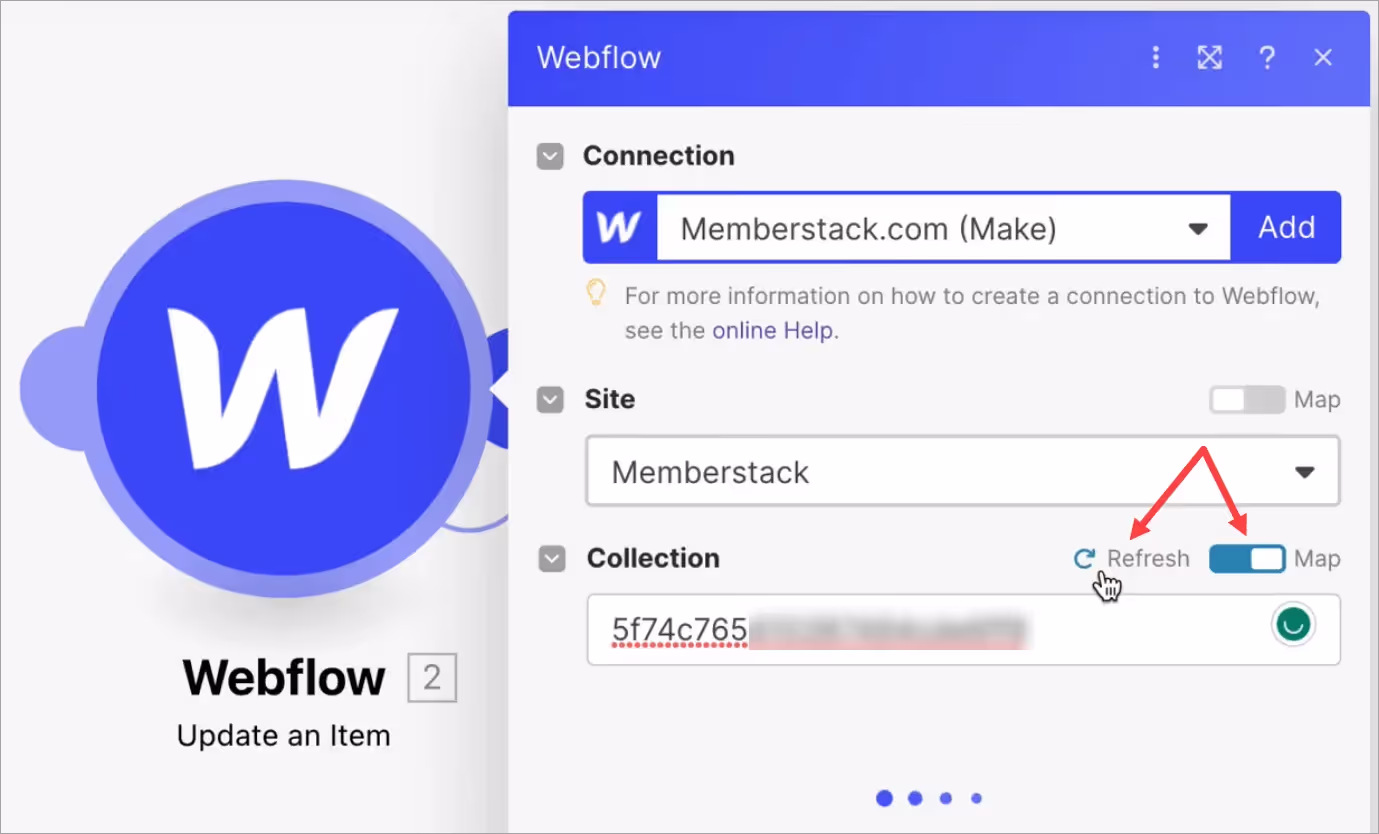
- Click the second scenario icon. The Webflow form displays.
- Click the Site field and select your site name on the drop-down menu (e.g. Memberstack).
- Switch on the Collection Map toggle.
- Click the Collection field and paste the Webflow Blog Post Collection ID (from above).
- Click the Refresh link.
- Scroll through the Set up a filter form and add placeholder text to the required fields.
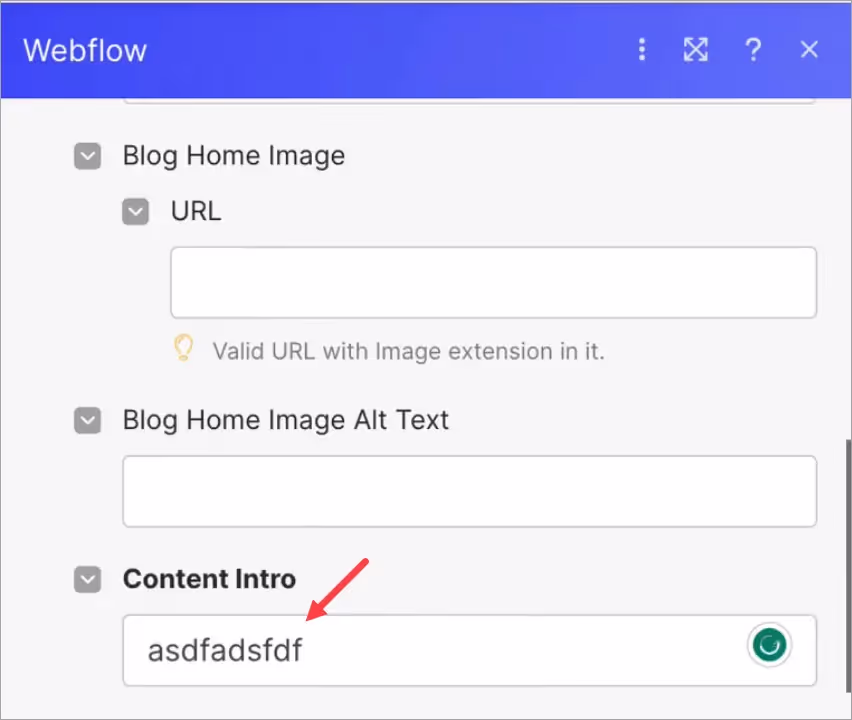
- Click OK and then save the scenario.
- Click Run. Now Make.com is waiting for Webflow data.
- Go to your Webflow site and create a demo blog post. Be sure to fill the required fields with placeholder text.
- Publish all of your site’s pages. This action helps Make.com understand your Webflow data sets and generate a list of mapping options.
Mapping fields
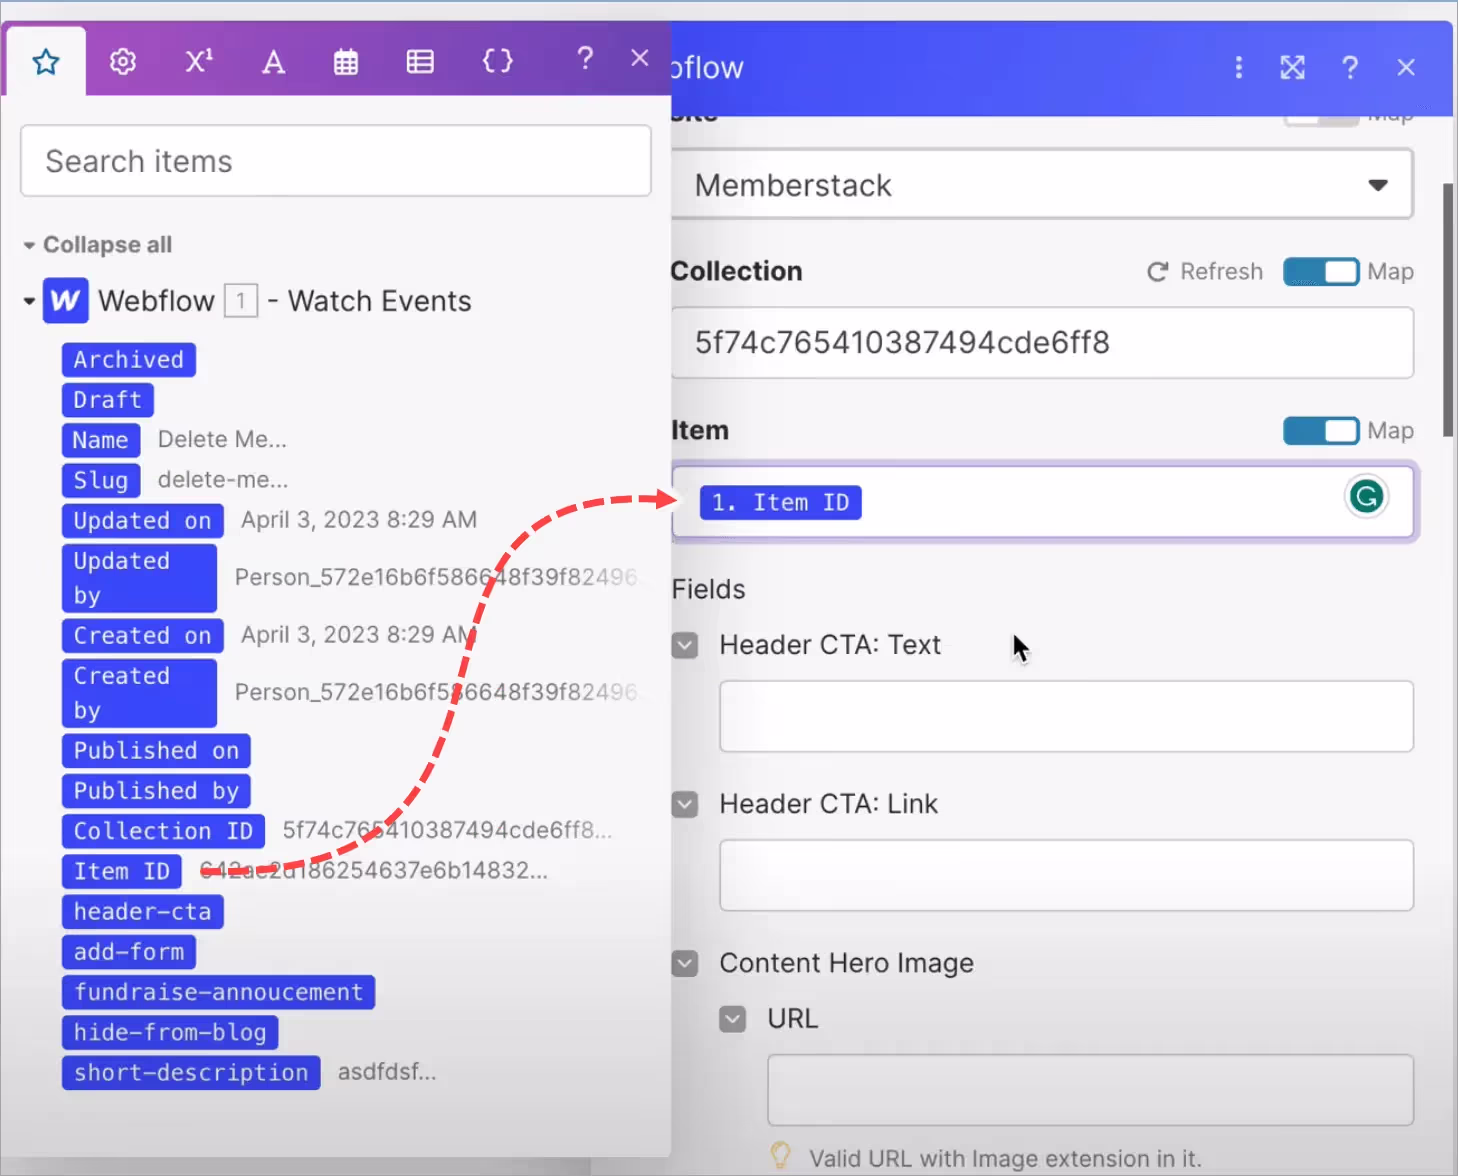
Come back to the Webflow form on the Make.com canvas.
- Scroll down the form to the Item field.
- Click the field and select Item ID in the list of options.
- Repeat mapping steps for each required field.
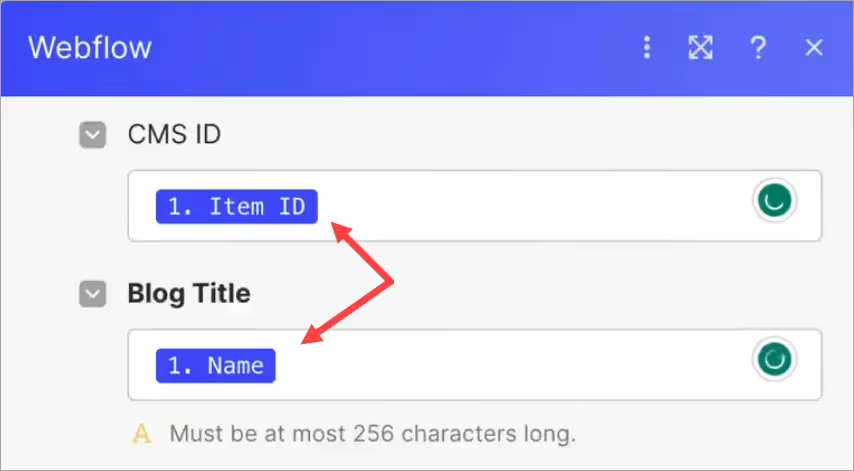
- Be sure the CMS ID and Blog Title fields are properly mapped.
- Scroll down to the bottom of the form and set the Archived and Draft toggles to No. Set the Live option to Empty.
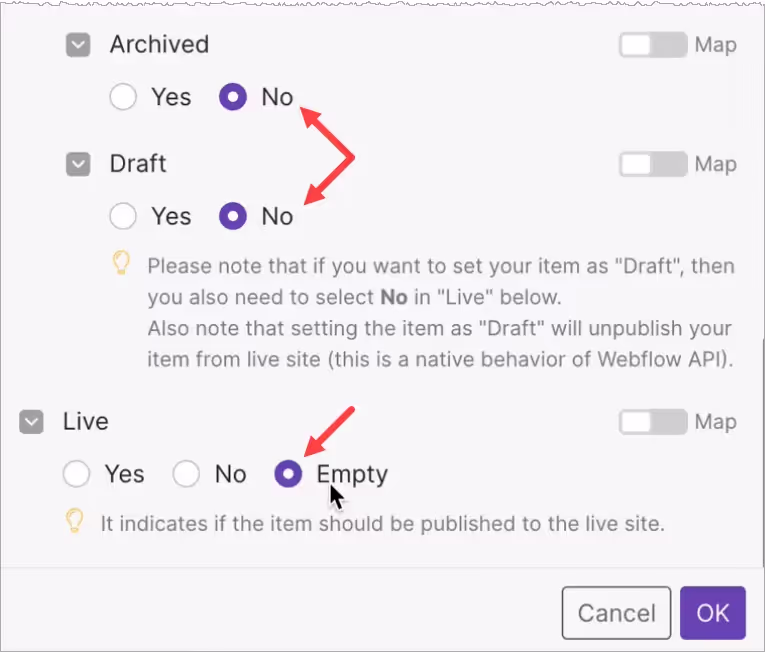
The scenario is now complete. Click Save and then turn on the scenario.
Testing the Make.com Scenario
Now test your work.
- Go back to your Webflow site and create a new blog post.
- Publish all of the pages. This will trigger the Make.com scenario you just set up.
- Check the Make.com Activity tab to ensure the scenario ran successfully without error.
- Go back to your Webflow CMS.
- Verify the new blog post has its CMS ID automatically added.

Wrap Up
That’s it.
In this article, you learned how to bulk update Webflow CMS items with unique IDs and create a Make.com scenario to automatically add a CMS ID to a new item.
If you have questions, leave a comment below or reach out for support. We're here to help you make the most of your Webflow CMS experience. Happy updating!
Ajoutez des adhésions à votre projet Webflow en quelques minutes.
Plus de 200 composants Webflow clonables gratuits. Aucune inscription n'est nécessaire.
Ajoutez des adhésions à votre projet React en quelques minutes.
.webp)


.png)

