Ovidiu
How to add a page scroll progress bar to your Webflow site
Les registres des membres sont nécessaires
https://www.memberstack.com/scripts/page-scroll-progress-bar
Tutoriel
Clonable

Pourquoi/Cas d'utilisation
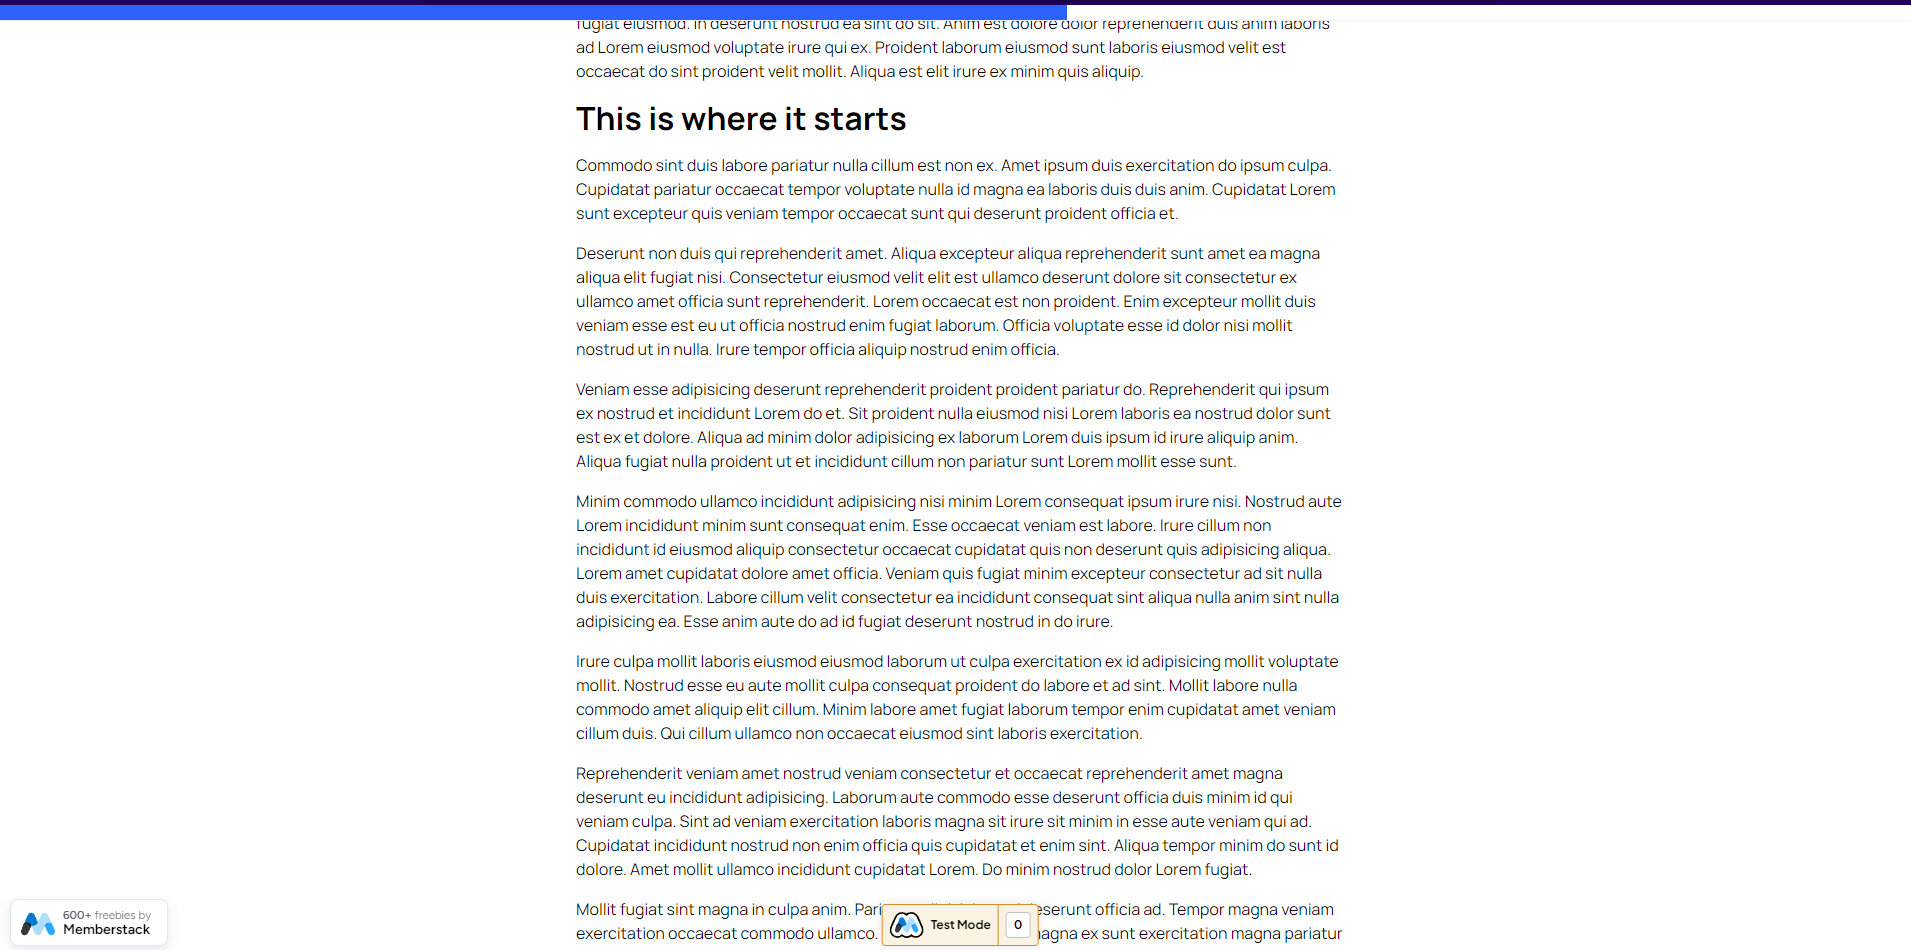
- Display a scroll progress bar so users have a sense of where they are on the page and how long they have until they reach the end of your content.
Adding a page scroll progress bar to a Webflow site
Some things just don’t always make sense for certain visitors, which is why you can choose to show or hide certain elements based on what you know your visitors need or don’t need.
For example, you might want to display an App Store button on iOS devices and a Play Store button for Android devices, you might want to hide both on desktop, show a Microsoft Store link on Windows only, and so on.
This guide will help you fine-tune display conditions based on your and your users’ needs.
To add a page scroll progress bar to your Webflow site, we’re going to use MemberScript #117 – Page Scroll Progress Bar. Follow the link to get the code you’ll need to add to your page and watch a video tutorial on how to set everything up.
Setting it up
First, you’ll need to create a container where the progress bar will be displayed at the top of the page and place it inside a wrapper. Then, add this attribute to it:
· ms-code-ps=”container”
Now within this container add another one that will house the progress bar itself and add this attribute to it:
· ms-code-ps=”bar”
Style the progress bar however you like and when you’re done, set its width to 0%.
When you’re at the beginning of the page, the bar will have a width of 0% and when you’re at the end, its width will be 100%.
However, if you want the progress bar to start filling at a specific point inside your page instead of at the top, add an empty div block right before that point and add this attribute to it:
· ms-code-ps=”start”
Additionally, if you want the progress bar to hit 100% at a specific point before the bottom of the page, add another empty div block after that point and add this attribute to it:
· ms-code-ps=”stop”
Making it work
Now that you’ve got everything set up in Webflow, all you need to do is add the MemberScript #117 custom code to your page (or sitewide), before the closing body tag.
Alternatively, you could also add the code inside an embed element within the parent wrapper of your progress bar and set it to hidden.
Conclusion
That’s everything, you can now go ahead and test the progress bar on your live site.
Si vous souhaitez utiliser notre projet de démonstration pour commencer, cliquez simplement sur le bouton ci-dessous pour l'ajouter à votre site Webflow.
Our demo can help you add a scroll progress bar on your Webflow site.
Take me to Cloneable!
Ajoutez des adhésions à votre projet Webflow en quelques minutes.
Plus de 200 composants Webflow clonables gratuits. Aucune inscription n'est nécessaire.
Ajoutez des adhésions à votre projet React en quelques minutes.

.webp)


.png)
