
Dozie Okeke
Do you want to know how custom code works within Webflow? Want to know what other people are doing with custom code? This article will cover what you need to get started using custom code in Webflow. It will also showcase some cloneable projects using custom code to push the limits of what can be done with Webflow
Utilisation de code personnalisé dans Webflow
How does Custom Code work with Webflow
(Note: Paid Account Required)
To use custom code on a Webflow site, your site needs to have a basic site plan, or belong to a workspace on a core, growth or enterprise workspace plan. Furthermore, you can only use HTML, CSS and JavaScript when using custom code in Webflow. More strictly, you can’t use <html>, <body>, or <head> tags in your custom code or your page will break.
With those pesky details out of the way, here’s a list of many of the ways you can add custom code to a Webflow site!
Copy and Paste Finsweet’s Custom Code Hacks
The folks over at Finsweet have created a great collection of custom code demos, complete with copy and paste code and YouTube tutorials for 58 custom code hacks! The collection also has a great tutorial on how to use JQuery and javascript to extend the functionality of your webflow site, so we definitely recommend checking them out.
Add Custom React components
This is a great video explaining how to add a custom react component using a target div in a Webflow page.
React Components in Webflow (in under 5 minutes)
1. Add the react library using their cdn links in the header of your webflow page.

2. Create a target div with an id in your webflow page for rendering your react component
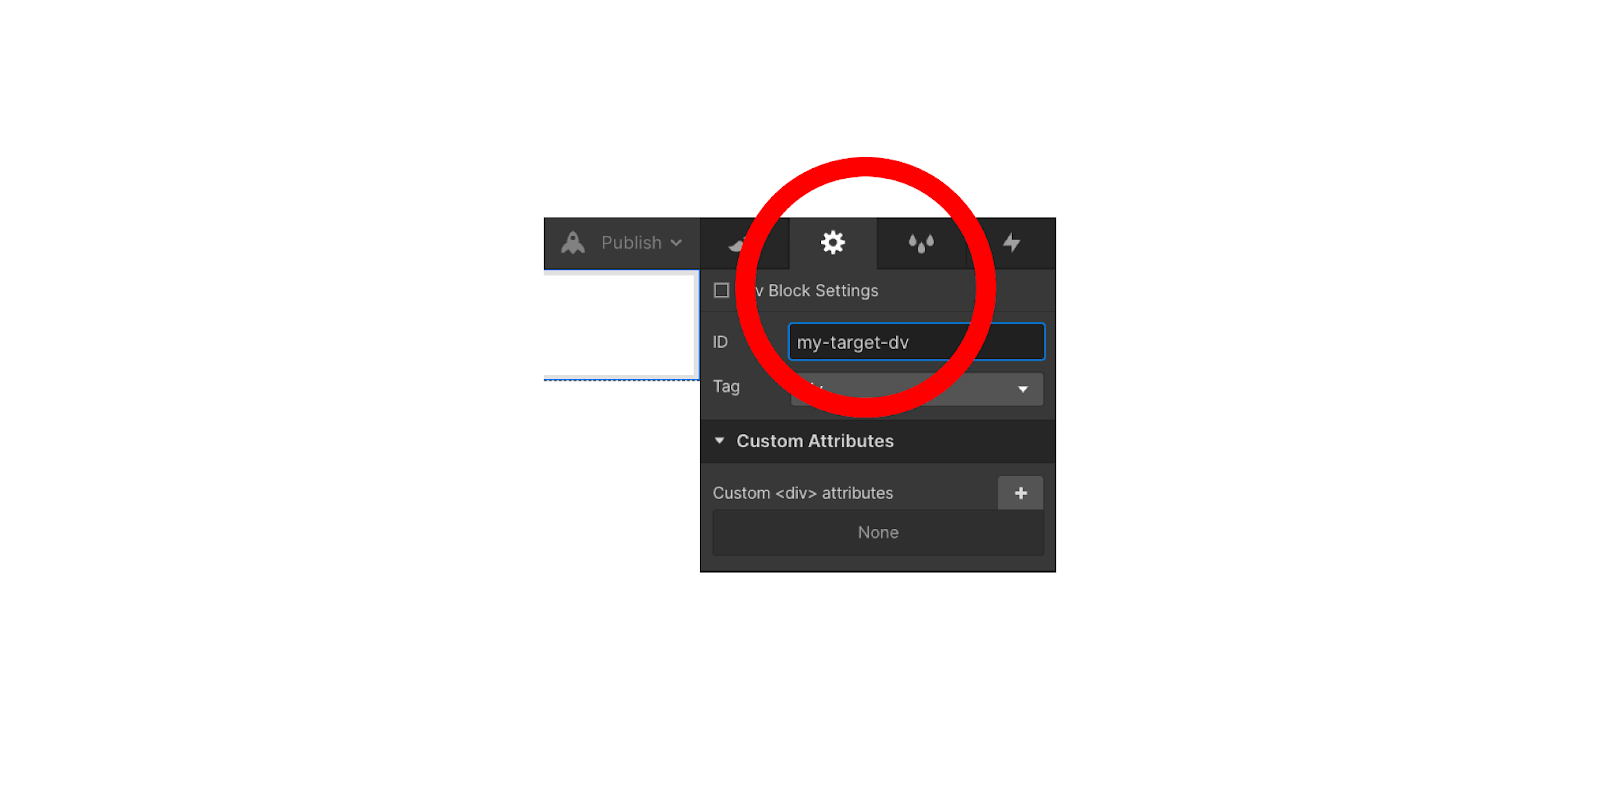
3. Optional — for styling using Webflow:
- Create a Webflow template of the react component you’re about to build.
- So far you use the same class names and HTML structure in your react component, the styles you create in Webflow will apply to your react component.
4. Create a react component that is configured to be rendered through your given target div.
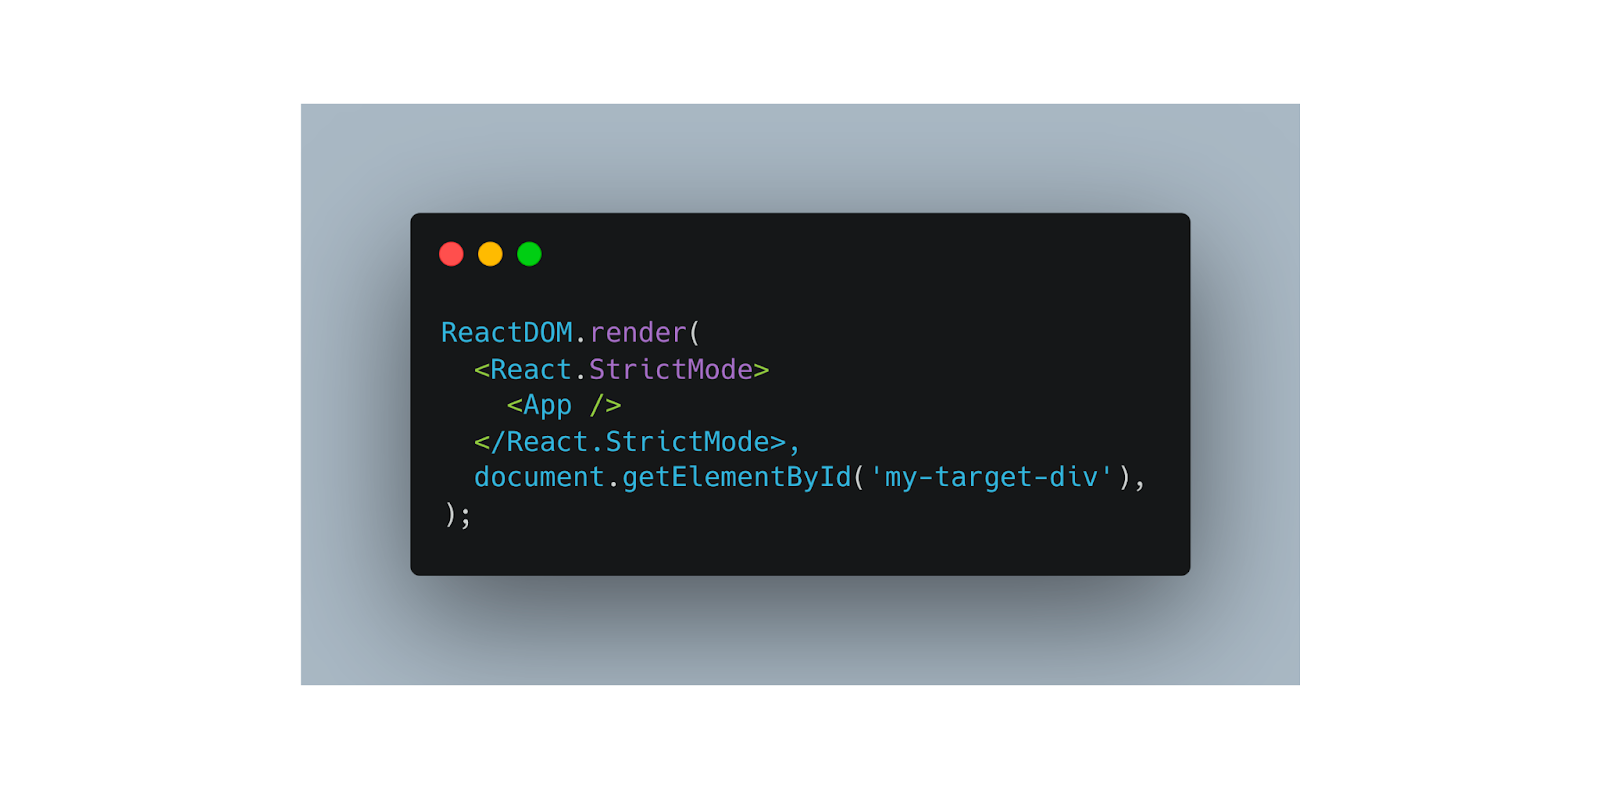
5. Next you can either copy in your source code for your react component, or bundle it and include it with an external script in the footer or header sections.
Using React Source Code
6. Copy in your react source code into an embed element or into the footer of your webflow page before the closing </body> tag.
Using Bundled React Code
7. Bundle your react component using webpack, rollup, microbundle, vitejs, create-react-app, etc.
8. Include your bundle script in the footer section of your webflow page before the closing </body> tag.
Note: Remember to publish your site to see your react component.
Add Custom Vue components

A Weather Widget component built with Vue. Source.
1. Add the vue library using their bundled build in the footer or header sections of your webflow page.

2. Create a target div with an id in your webflow page for mounting your Vue component

3. Optional — for styling using Webflow:
- Create a Webflow template of the Vue component you’re about to build.
- So far you use the same class names and HTML structure in your Vue component, the styles you create in Webflow will apply to your Vue component.
4. Create a Vue component that is configured to be mounted in your given target div.
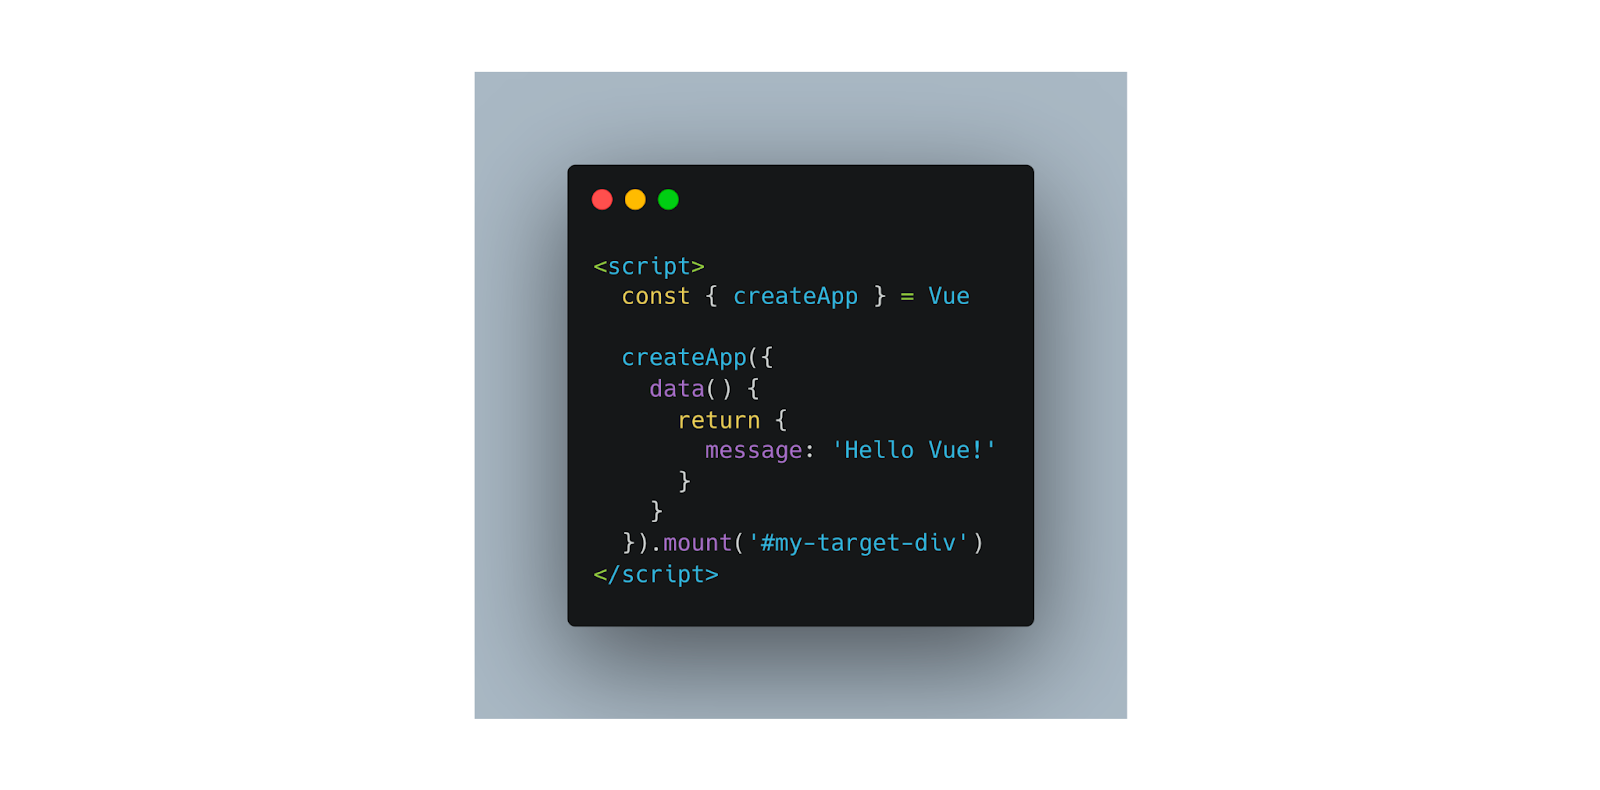
5. Next you can either copy in your source code for your Vue component, or bundle it and include it with an external script in the footer.
Using Vue Source Code

An example using Vue source code in an embed. Source.
6. Copy in your Vue source code into an embed element or into the footer of your webflow page before the closing </body> tag.
Using Bundled Vue Code
7. Bundle your Vue component using webpack, rollup, microbundle, etc
8. Include your bundle script in the footer section of your webflow page before the closing </body> tag.
Note: Remember to publish your site to see your Vue component.
Use Site Settings to add Header and Footer code
Use this option to add code that applies to all pages in your webflow site.
Site Settings Header Code
1. Go to the Project Settings
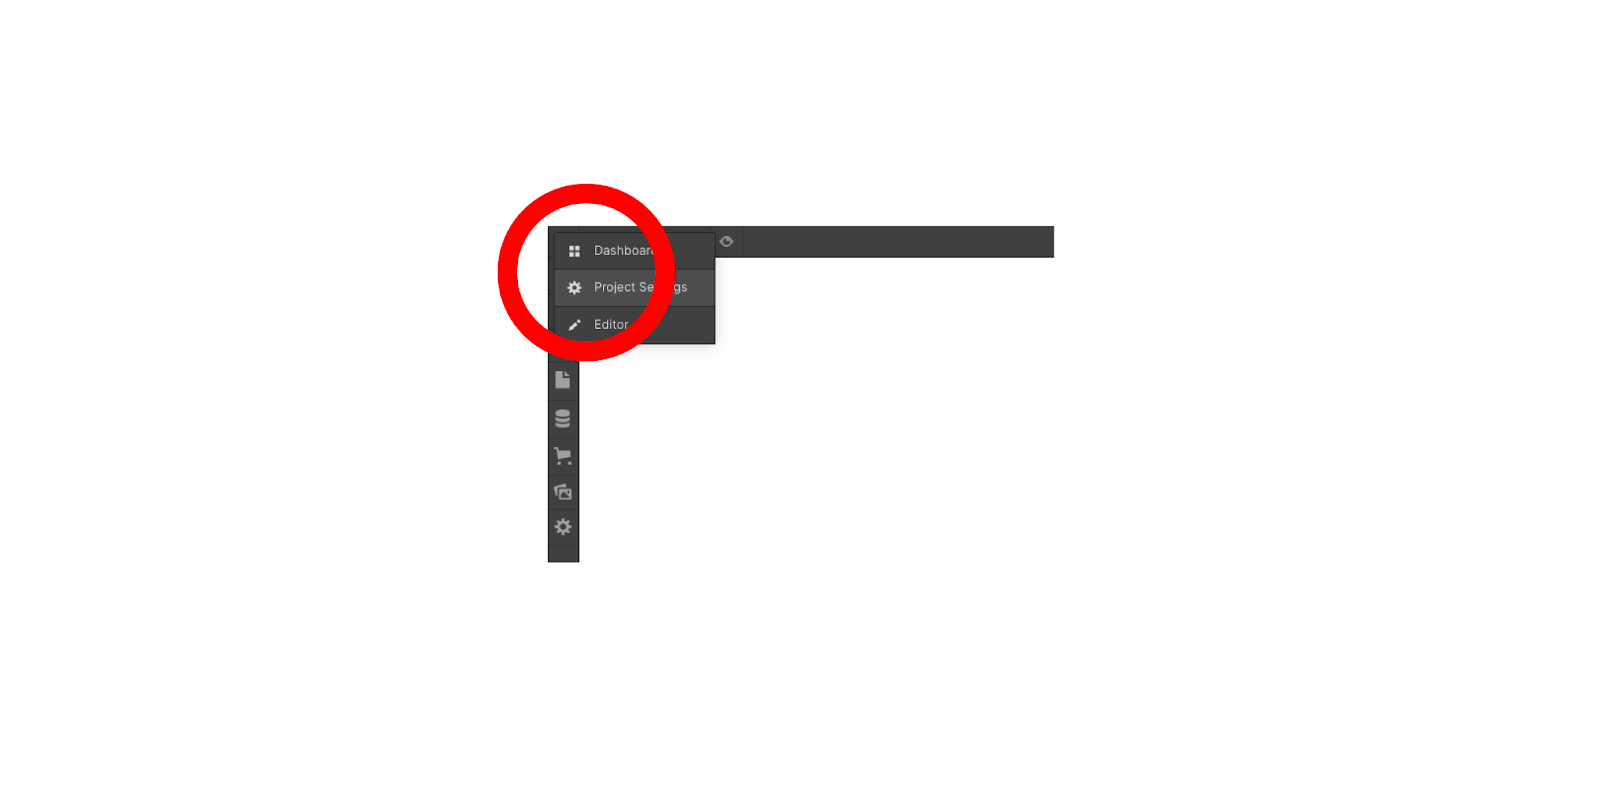
2. Select Custom Code

3. Add your code in the Header Code section
4. Publish your site to see your custom code in action.
Footer Code
You should add your custom javascript in the footer code before the closing </body> tag.
- Go to Project Settings > Custom Code
- Add your code in the Footer Code section
- Publish your site to see your custom code in action
Use Page Settings to add Header and Footer code
Use this option to add code that applies to a single page in your webflow site.
Page Settings Header Code
5. Go to the Page Settings
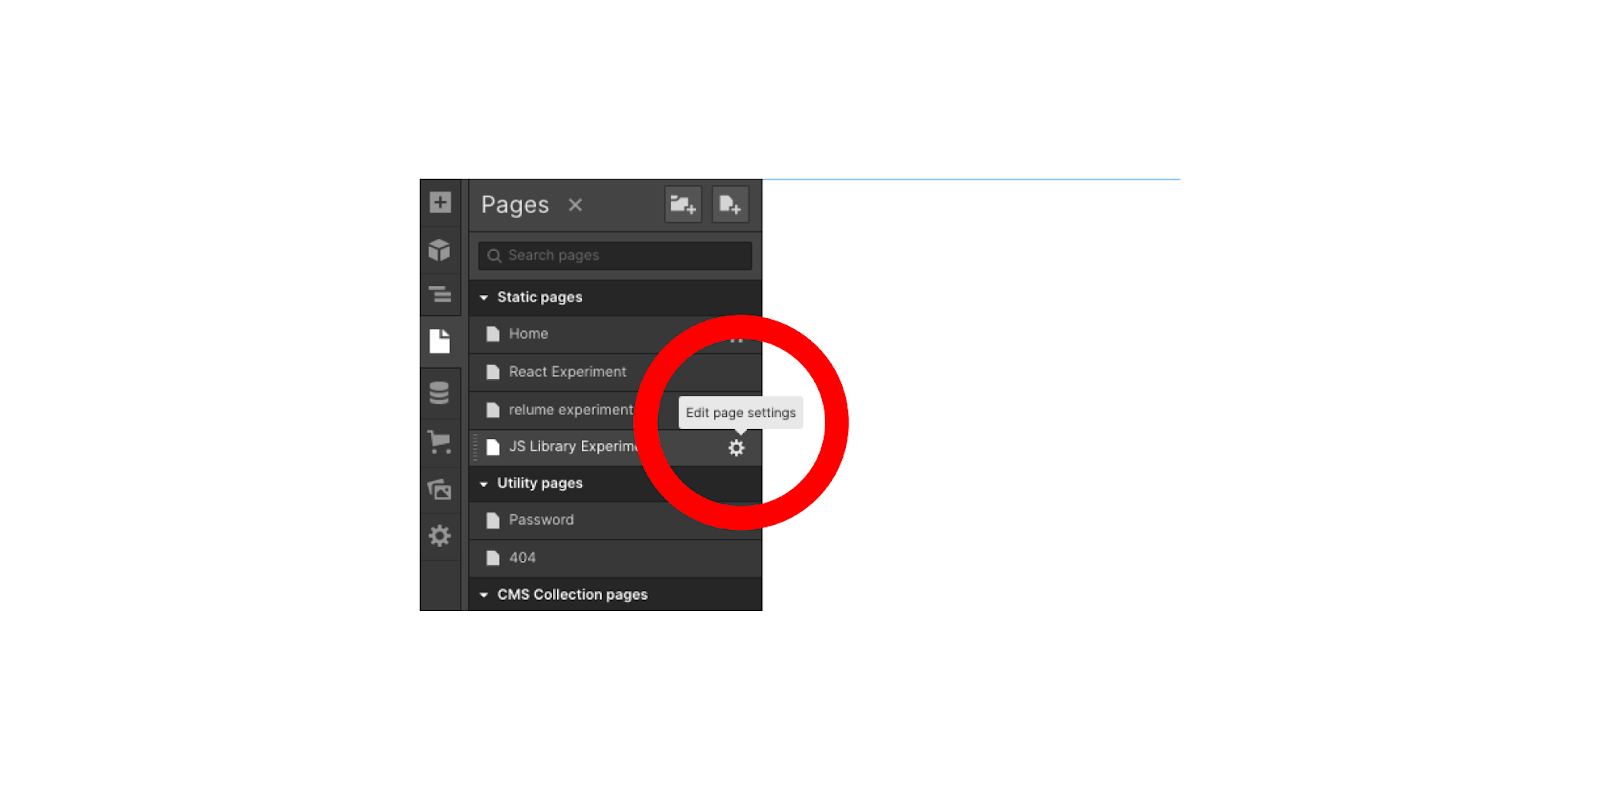
6. Scroll down to the Custom Code section
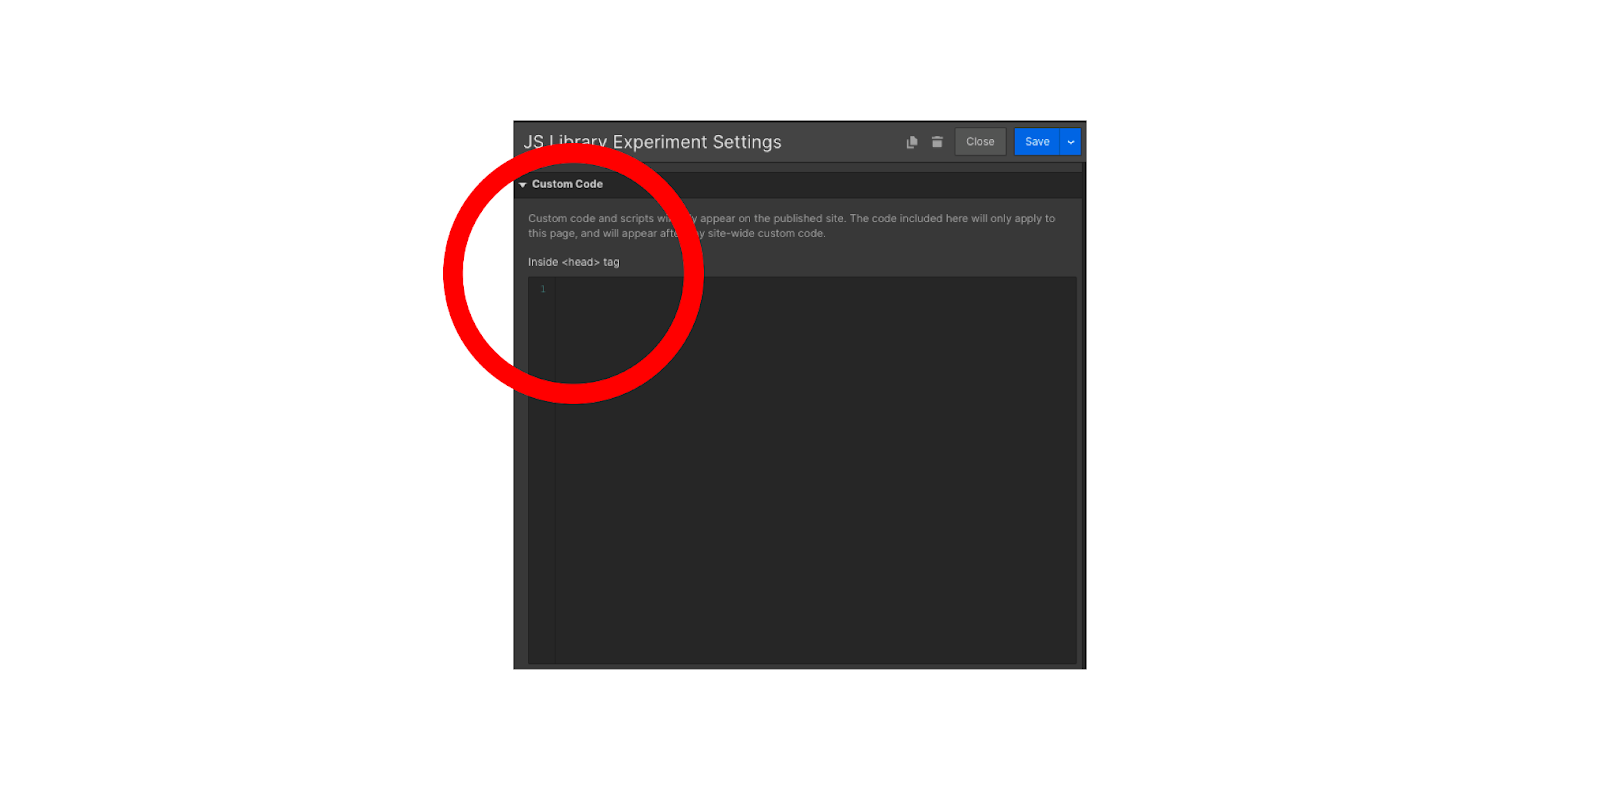
7. Add your code in the inside <head> tag section
8. Publish your site to see your custom code in action.
Page Settings Footer Code
- Go to Page Settings > Custom Code
- Add your code in the Before </body> tag section
Publish your site to see your custom code in action.
Add a HTML Embed Element
Embed custom HTML - Webflow tutorial
- Open the Add Elements panel
- Scroll down till you see the Embed component, and add it to your page.
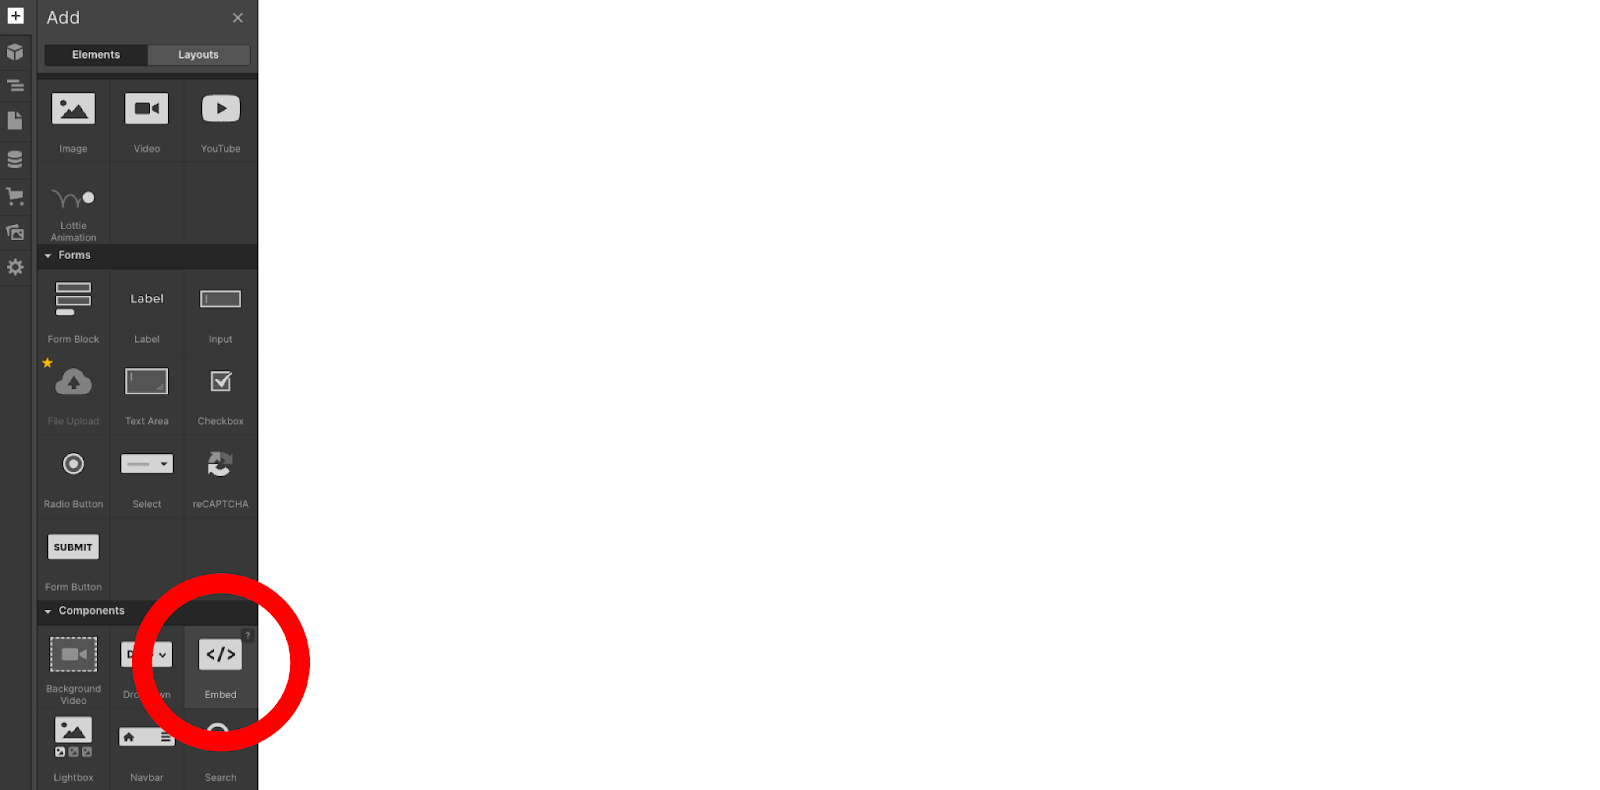
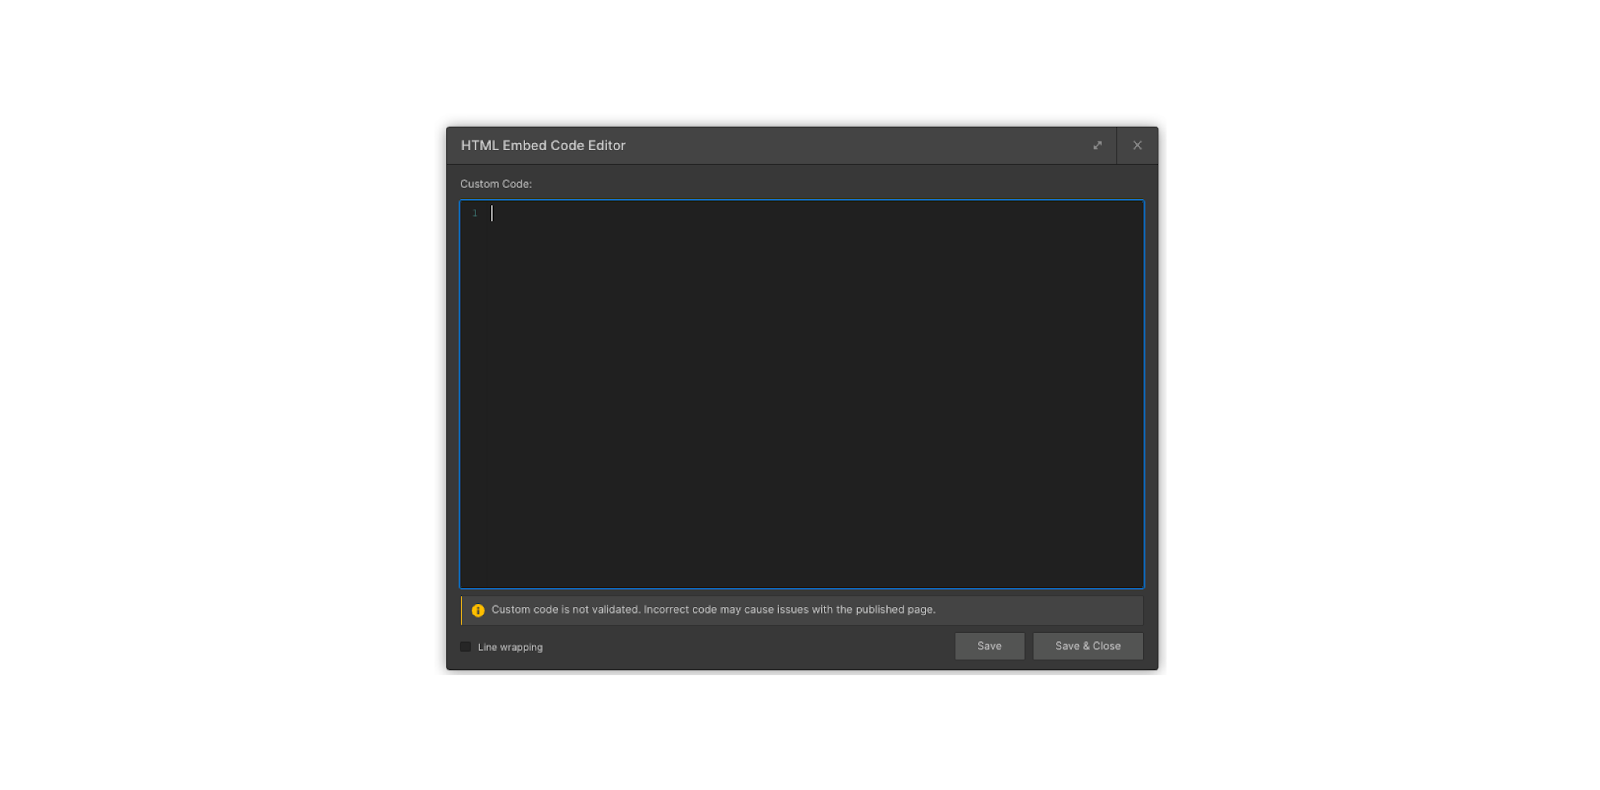
- Once you’ve added it to your page, double click the embed element to open it and begin adding custom code.
- Publish your site when you’re ready to see your code in action.
Note: Webflow places these embed components in order of how you place them within the page. Be careful to place embeds after the HTML elements they modify otherwise by the time they run the HTML elements they’re modifying won’t yet exist on the page.
Embed HTML in Rich Text Elements
Use the rich text embed when you want an embed to show up on just one blog page.
This is most useful for guest editors modifying blog pages who need to add popular embeds such as Youtube and Twitter.
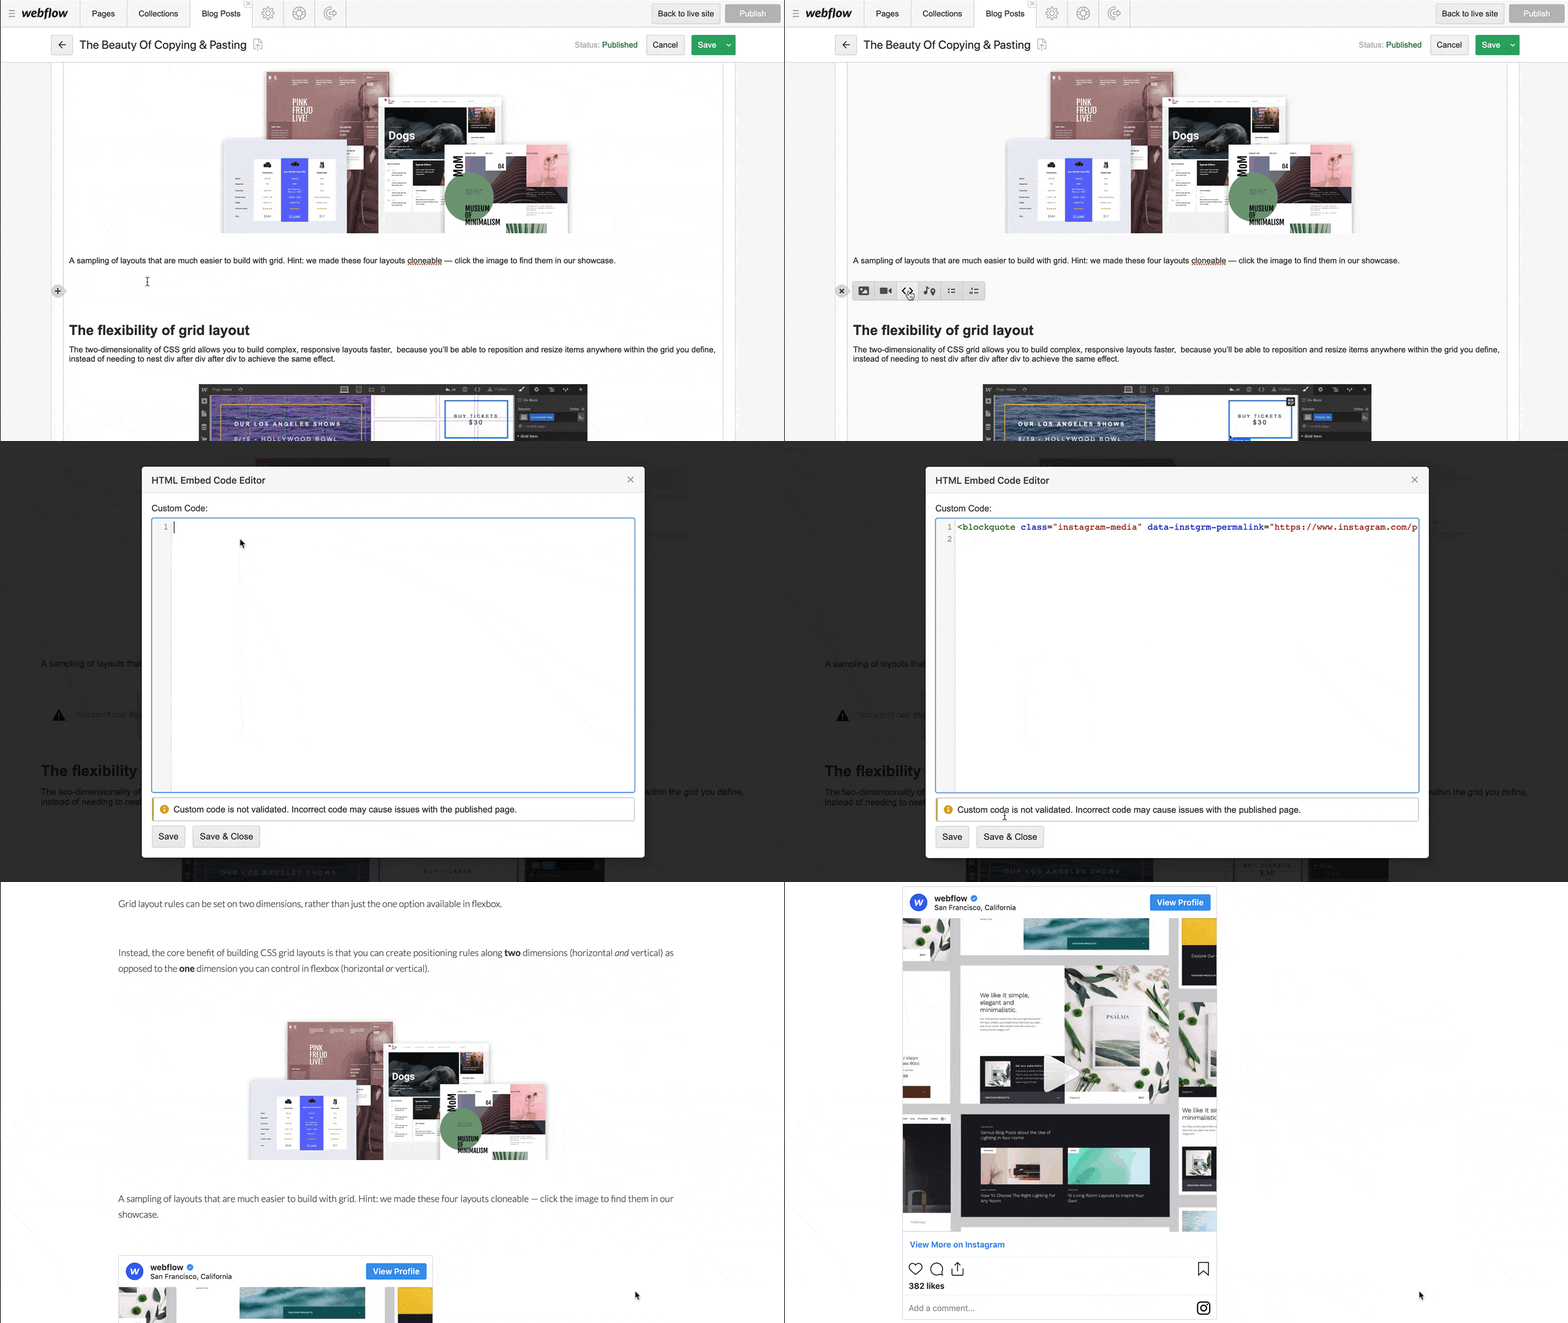
To use:
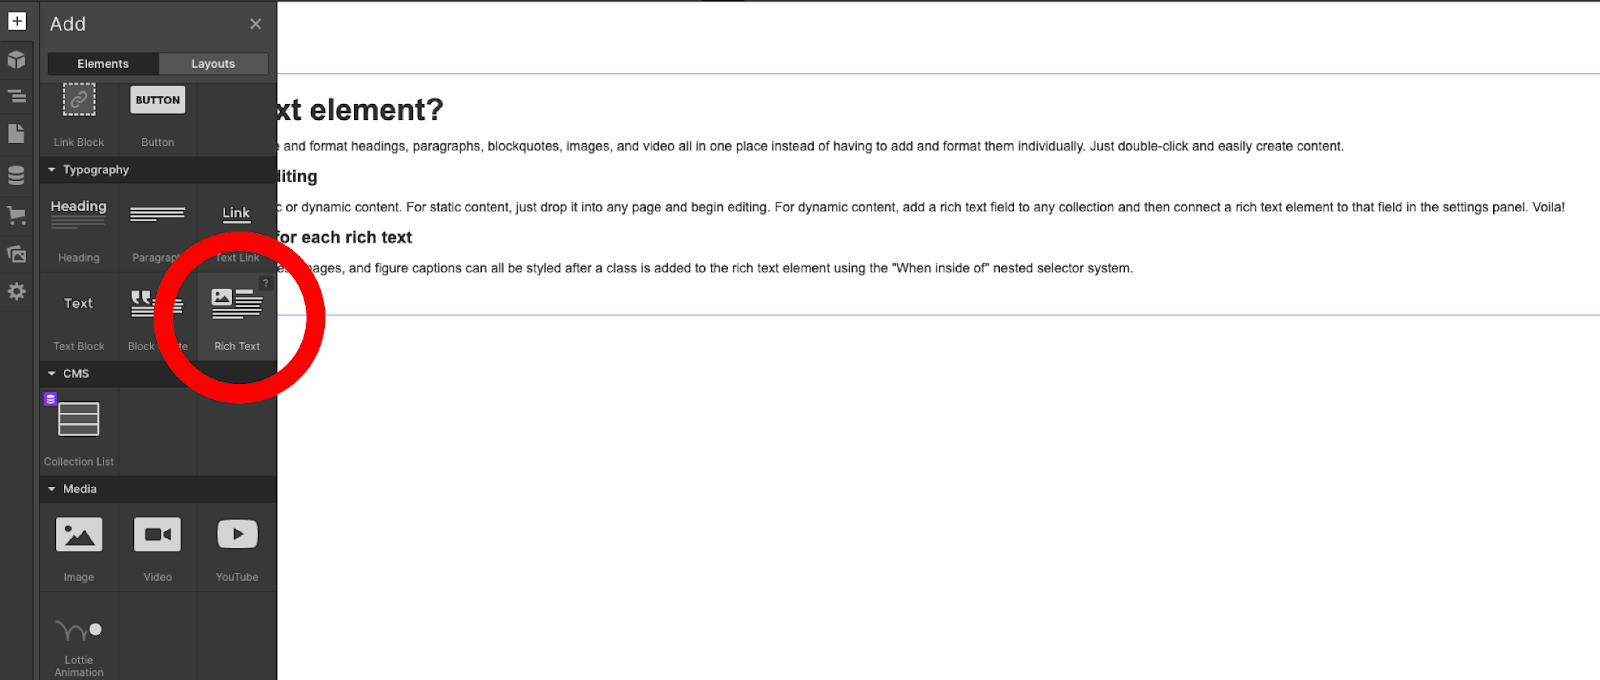
- Add a rich text element to your page
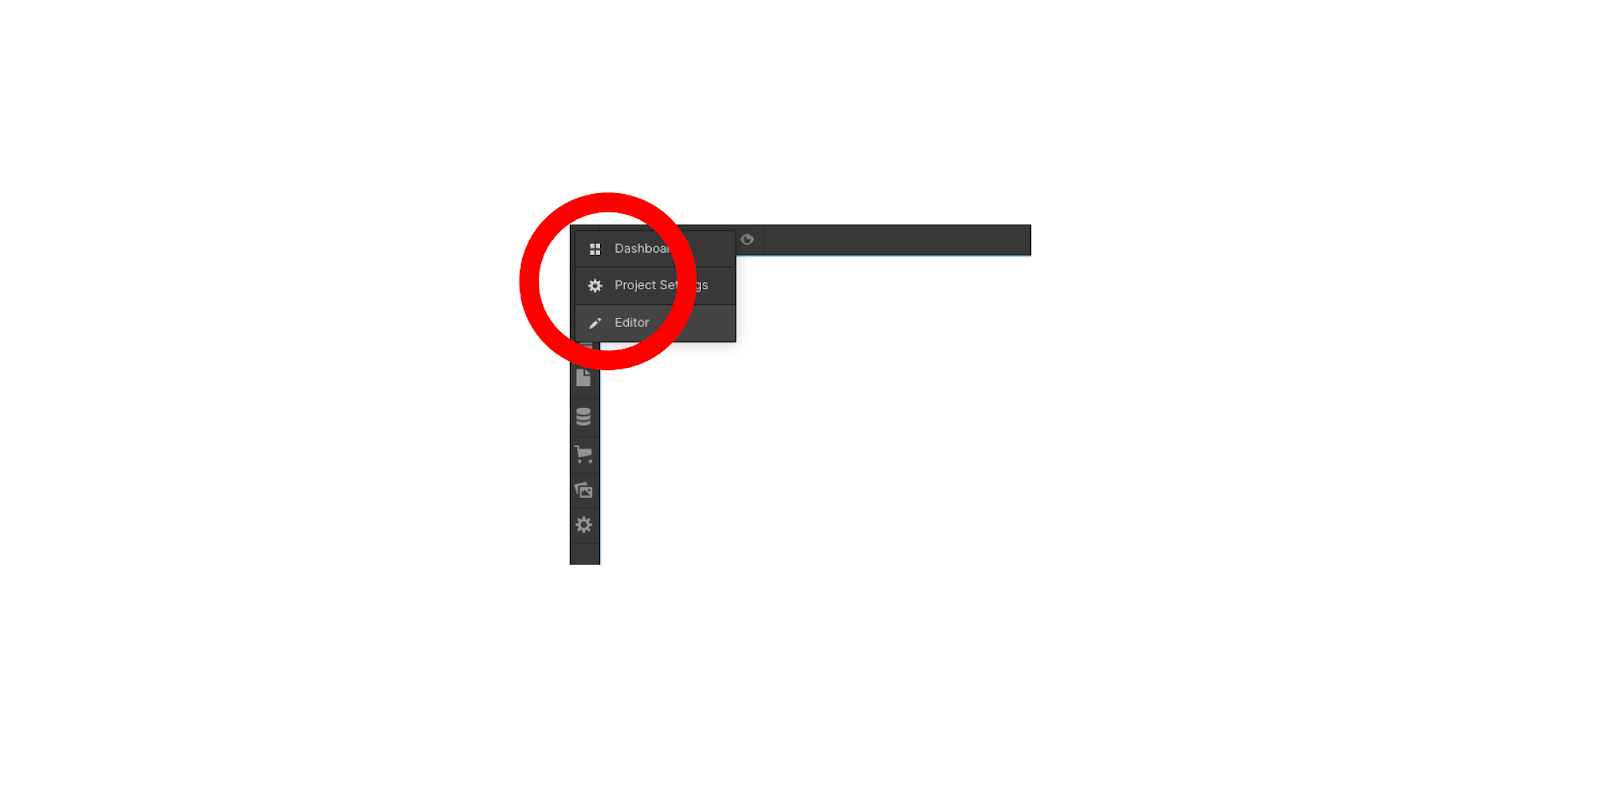
- Go into editor mode
- Enter into a new line for the + add icon to show up, click the add icon and select the embed option.
- Grab an embed code from the platform of your choice and paste it in.
- Publish your site to see your custom code in action.
Here’s a great video showing how to add a rich text embed.
Custom code in the Webflow CMS – Micro lesson #13
Note: Webflow should support any platform that generates an embed code, but they explicitly list support for these platforms:
Where to put each custom code (Header, footer, in the page)
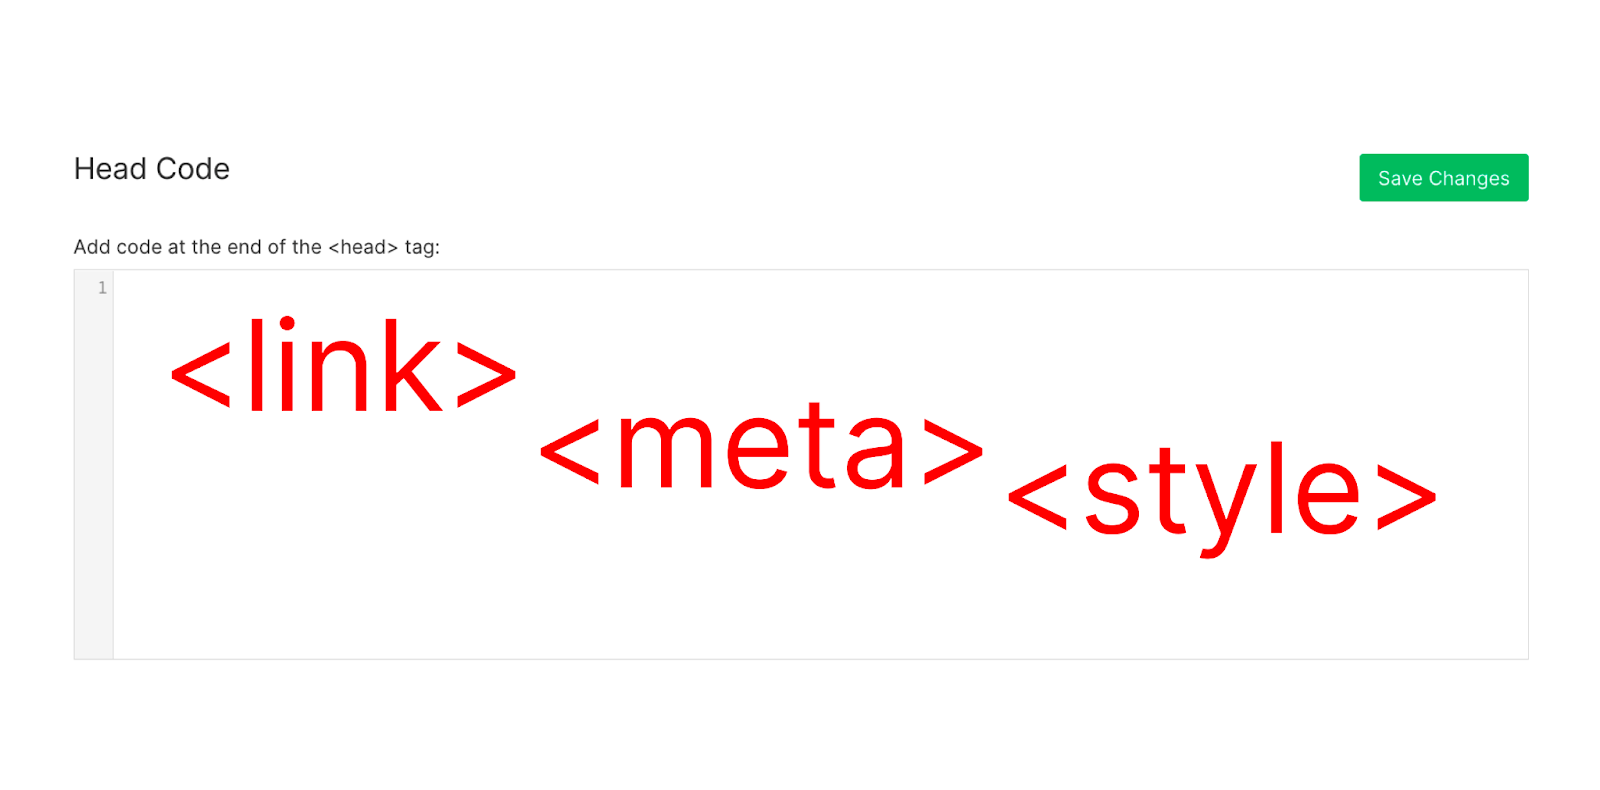
<link>, <meta>, and <style> tags should always go inside the <head> tag. In other words, put your external css stylesheets and font families in the header. Other elements that can be in the header are <title>, <base>, <noscript>, and <template>.
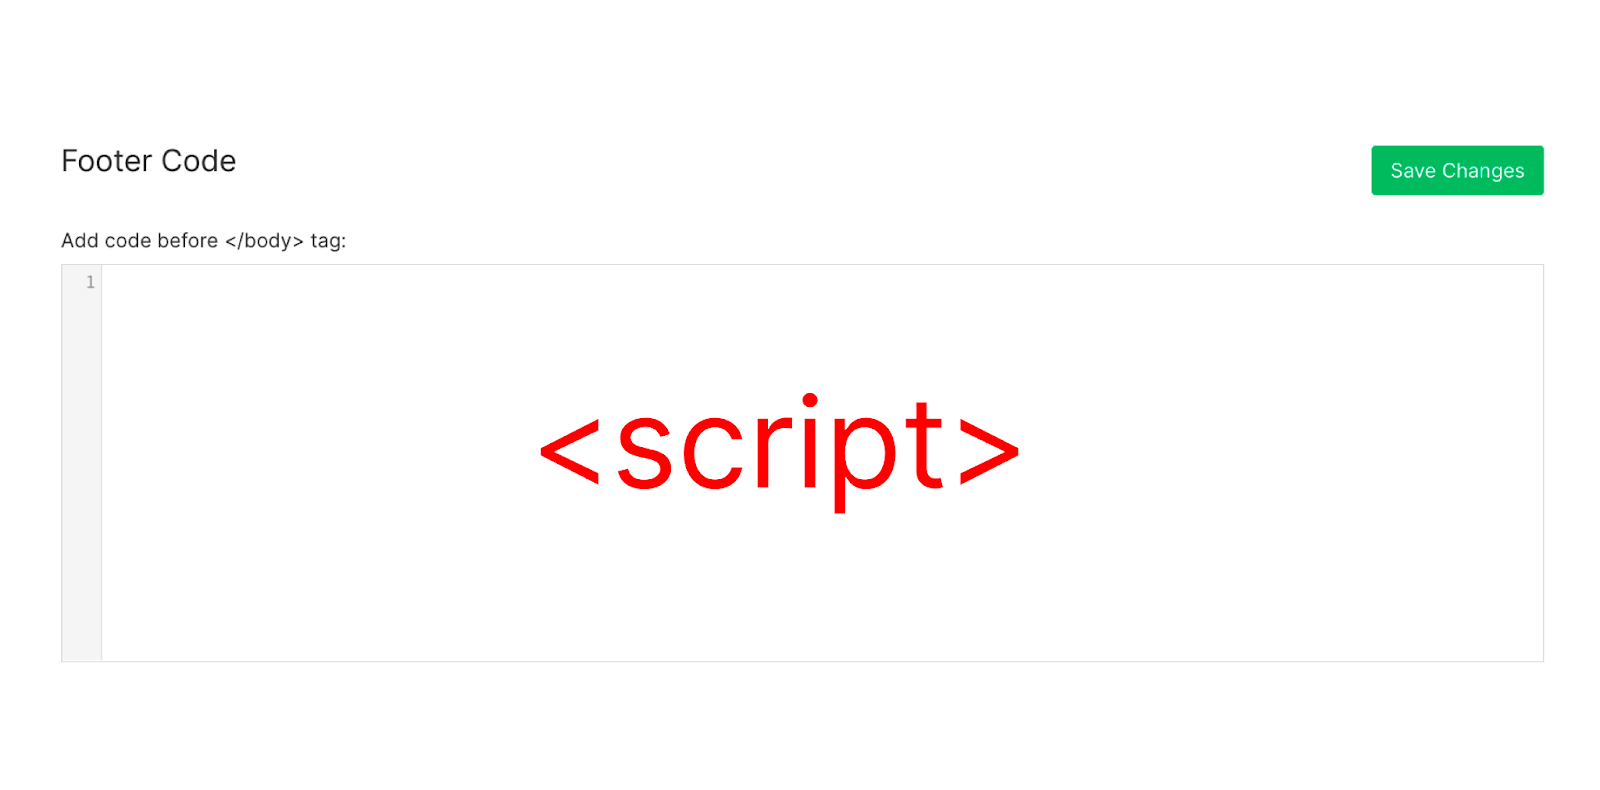
<script></script> tags can be added inside the <head> tag, but they’re best added before the closing </body> tag. Just make sure you’re adding the script before using methods and functions from the script.
JS Libraries
Jquery
There’s no need to include the Jquery library because Webflow uses Jquery.
As of August 2020, newly published Webflow sites include jQuery v3.5.1. Importing other versions of jQuery with custom code may cause conflicts and unexpected behavior on your site.
Other Libraries
Most other libraries you may want to include such as gsap or three.js, can be included using their cdn links with the script tag in the header section of the page where you need them.
- Copy their CDN links.
- Include as script in the footer or header section of your webflow page.
Tips for Custom Code
How to avoid repetition
- To avoid repetition, place your HTML Embed inside a Symbol and reuse it across pages.
How to avoid bugs
- To avoid bugs, write your JS in a text editor with code formatting then paste it into Webflow.
How to test your JS code
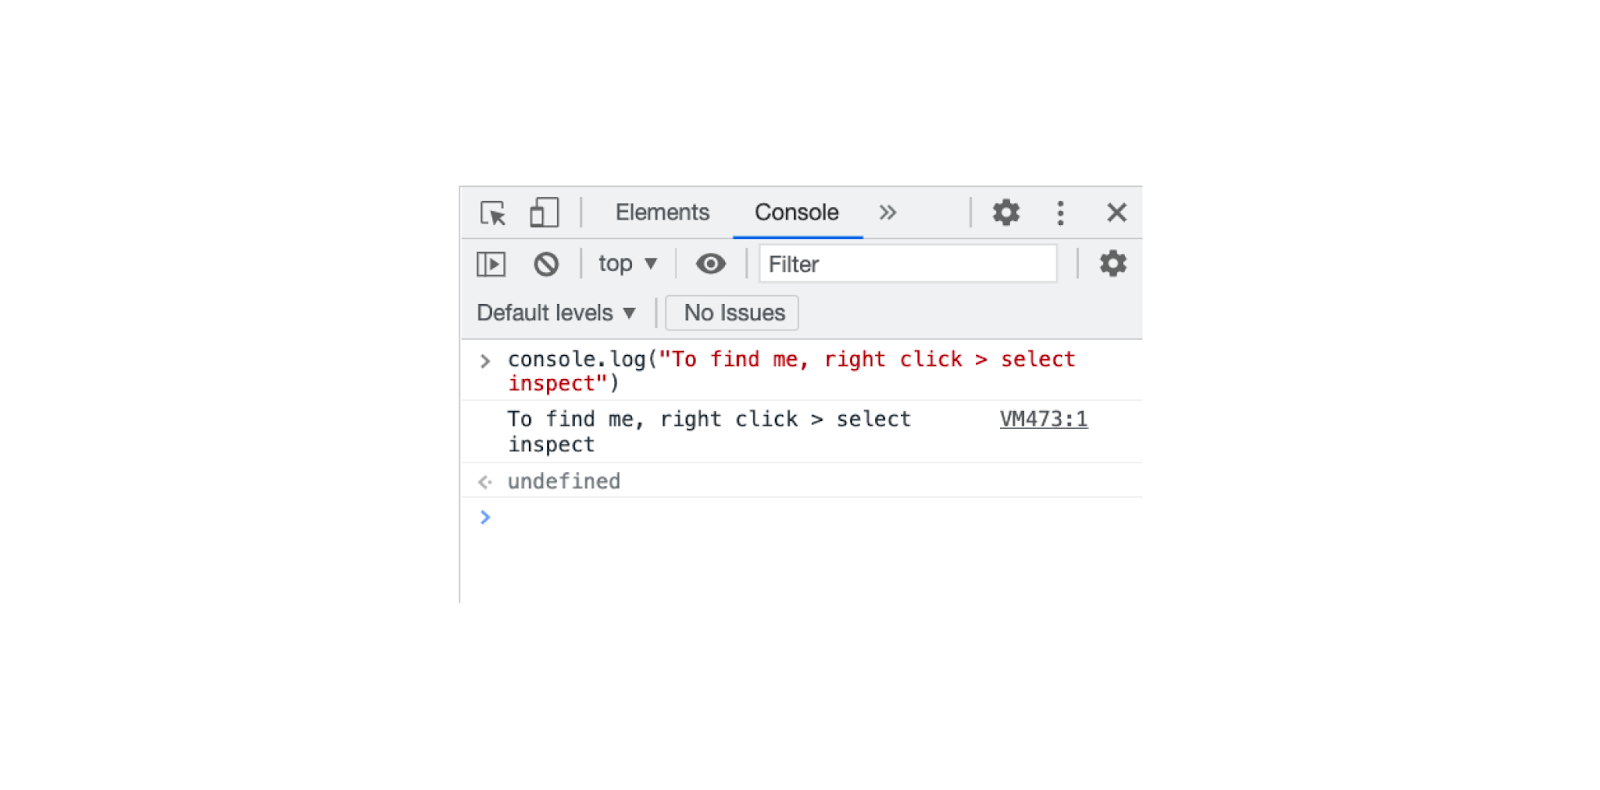
- Always test your JS - you can test your JS code using console.log statements while using the browser console to see printed output.
How to run your custom code
- Remember to publish your site to see the latest version of your custom code in action.
How to get past the 10K character limit
- There’s a 10k character limit for code in the Embed element, and here’s how to overcome it:
Option 1:
- Split your code up into multiple Embed elements
Option 2:
- Host your code on a server and include it as an external resource using the link
Cloneable Custom Code Projects You Can Use for Free!
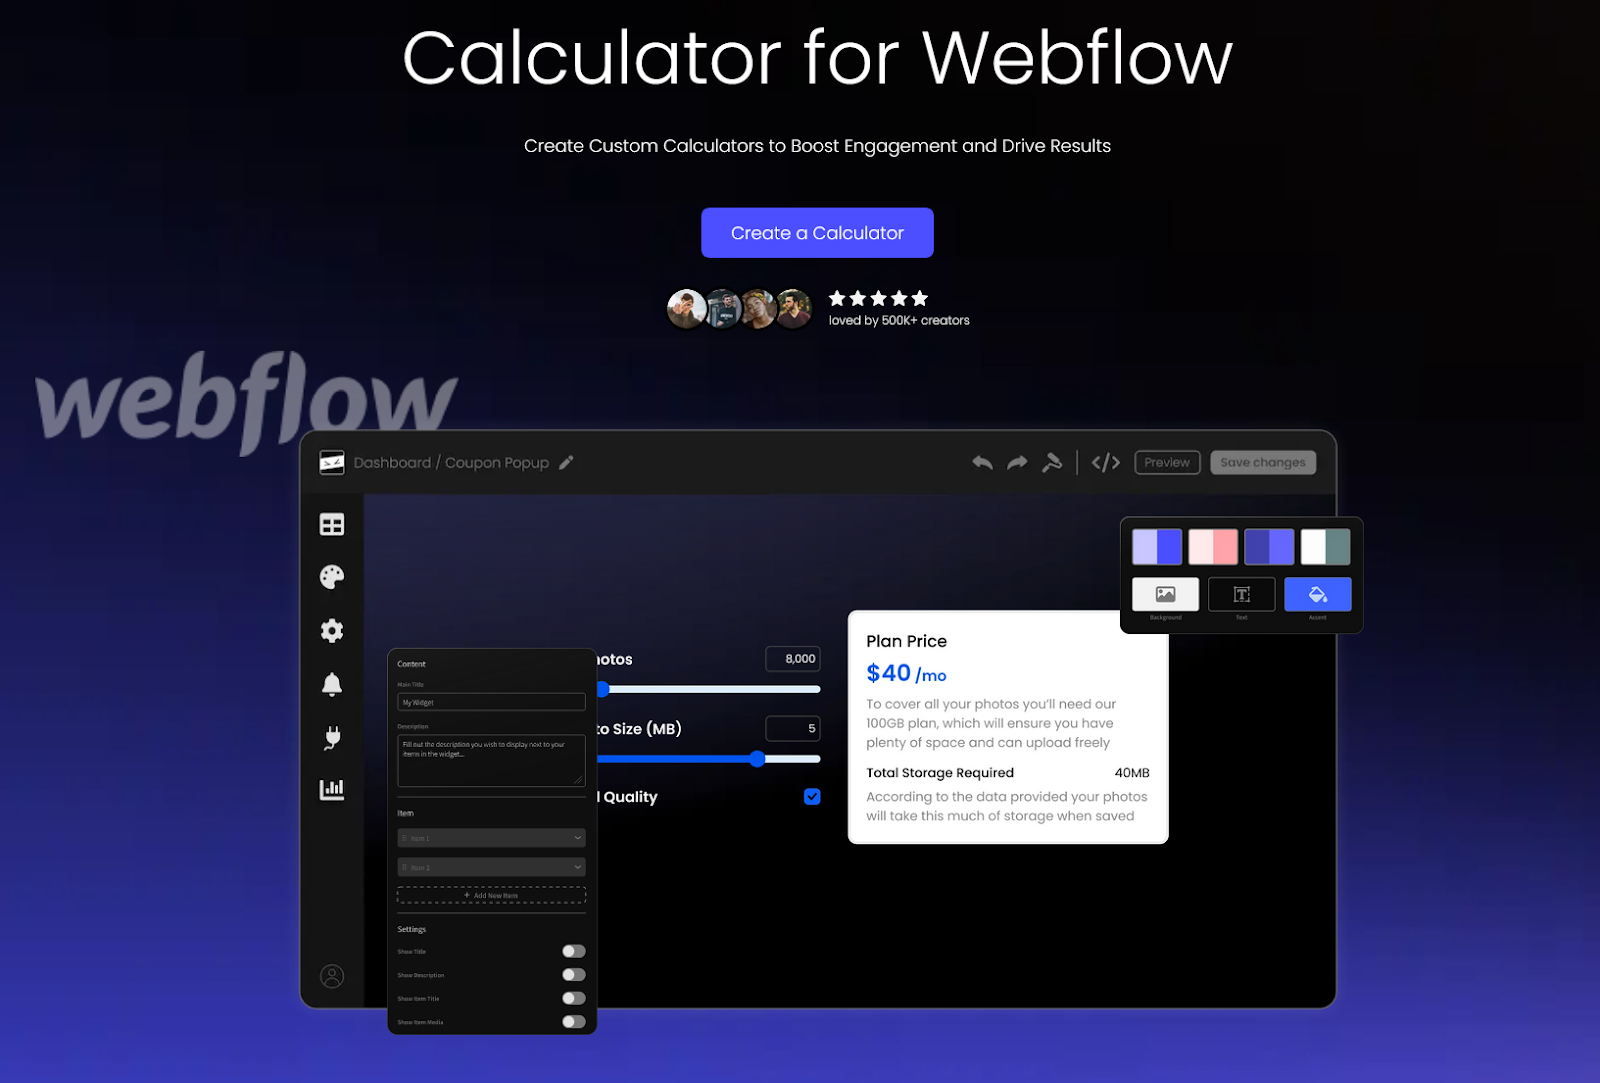
Calculator for Webflow
This project shows how you can build out a calculator which boosts engagement and drive results on your site.
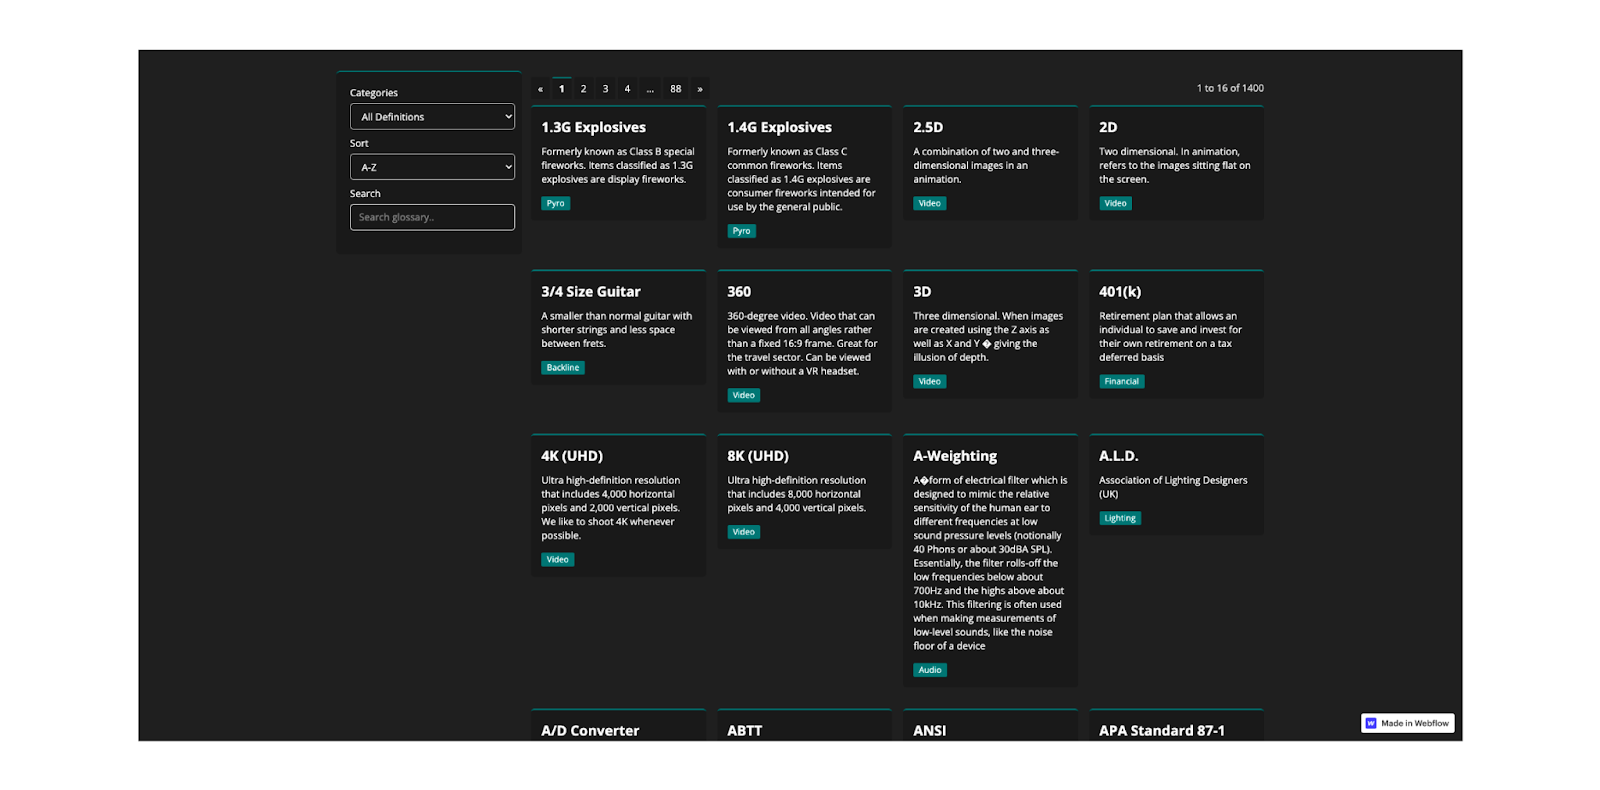
How to Create a Large Glossary of 1,000+ items Pagination
Pagination is needed in almost every site, so here’s an awesome example showing how to implement it using custom code. It shows how to create a pagination tab, how to keep track of the current page, and even includes a smooth transition and filter menu.
Learn How to Customize Your Own Wormy Cursor
This is one of those really cool creative projects that get you wondering ‘how did they do that.’ It shows you how to take control of your mouse cursor and use it to create a worm that wriggles around as you move your cursor.

Learn How to Mute and Unmute your Videos
With custom code you can control unmuting and muting sound in your videos. This is a simple demo showing how to do this in practice. The site starts with sound off, and allows the user to turn it on with a play/stop sound button.

How to Delay Page Loading with a Transition
Sometimes you want to add a transition between pages. This super simple demo shows how to do so using Webflow interactions and a simple zoom in animation.
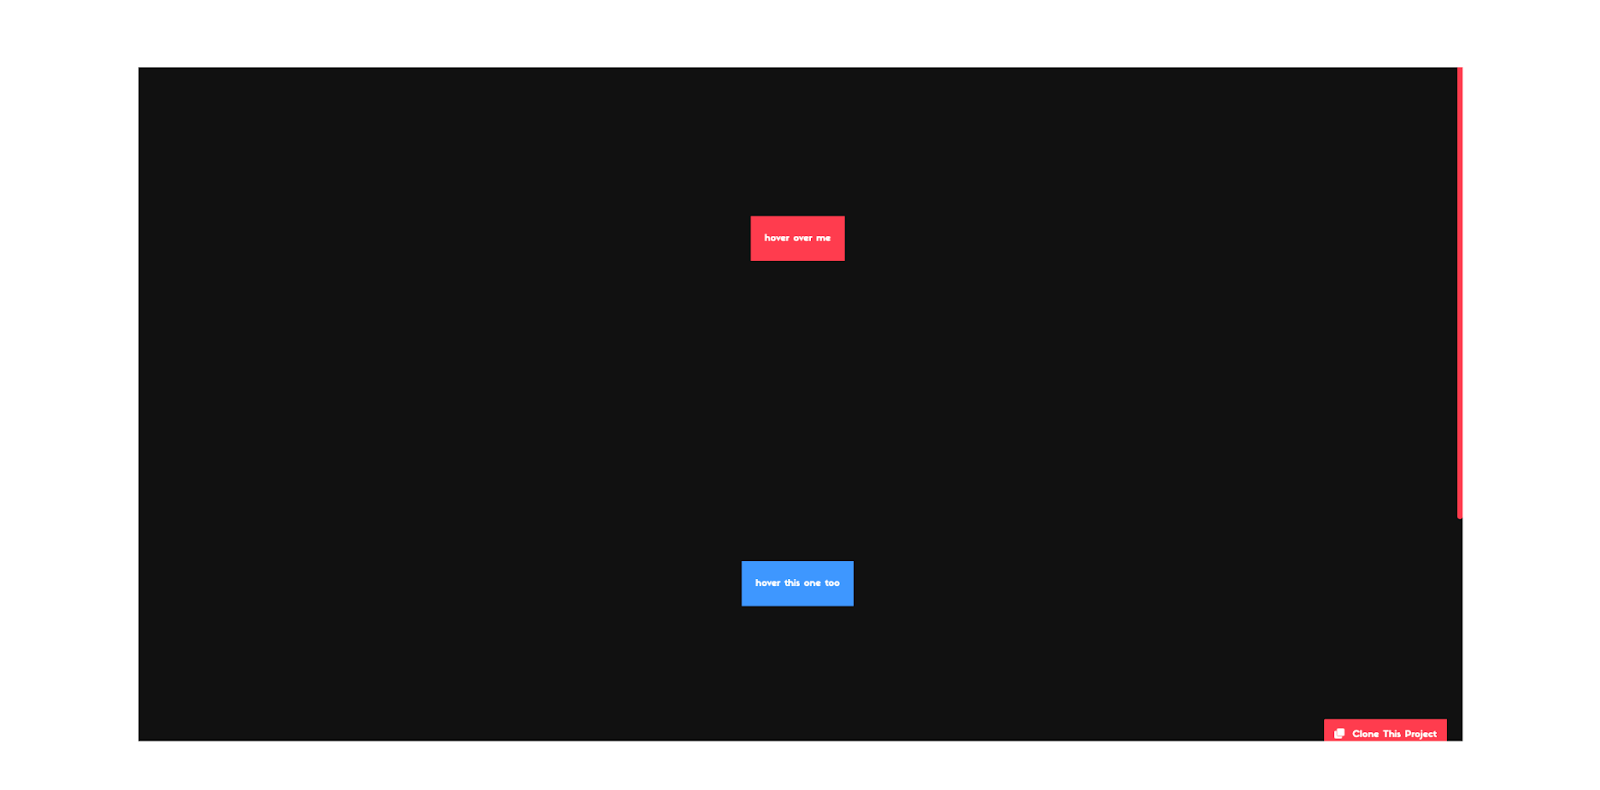
The 3D Button Challenge - Solving the Hover Animation Problem
Sometimes you just need custom CSS. Here’s a simple example showing how custom css can be added to achieve a 3D button animation.
Ajoutez des adhésions à votre projet Webflow en quelques minutes.
Plus de 200 composants Webflow clonables gratuits. Aucune inscription n'est nécessaire.
Ajoutez des adhésions à votre projet React en quelques minutes.

.webp)


.png)
